Mary Berry Recipes
Classic Hot Cross Buns
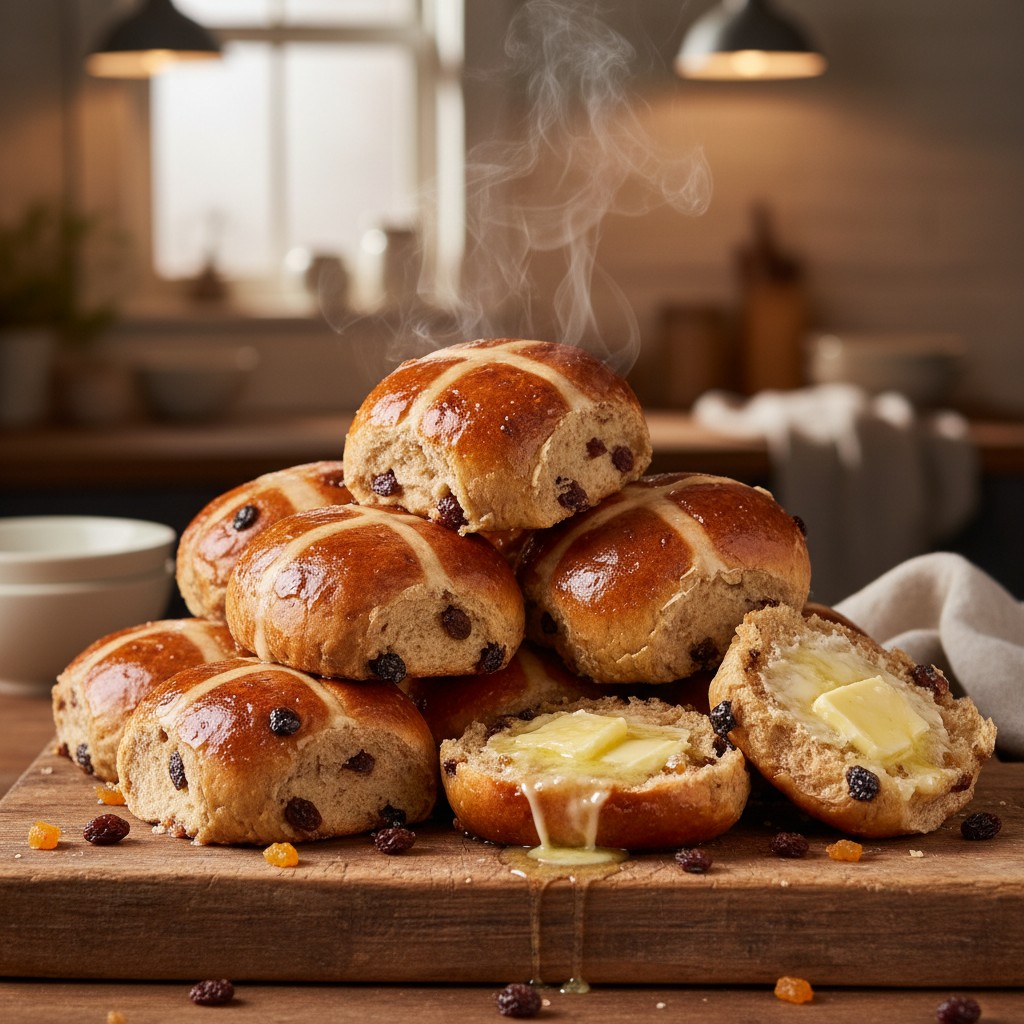
These beautifully spiced, fruit-studded buns are a true joy to bake and a sheer delight to eat, especially when warm from the oven. My recipe ensures a light, fluffy texture and that iconic cross, making them a real family favourite.
Why You'll Love This Recipe
- Achieves a wonderfully soft, enriched dough thanks to the perfect balance of butter and milk.
- The combination of mixed spice, currants, and mixed peel creates that authentic, comforting flavour we all adore.
- A truly satisfying baking project that yields impressive, professional-looking results with clear, easy-to-follow steps.
Ingredients
- 500g strong white bread flour, plus extra for dusting
- 75g caster sugar
- 10g sachet fast-action dried yeast
- 2 tsp mixed spice
- 1 tsp ground cinnamon
- ½ tsp fine salt
- 50g unsalted butter, melted
- 250ml full-fat milk, warmed
- 1 large egg, beaten
- 150g currants
- 50g mixed candied peel, finely chopped
- For the cross:
- 50g plain flour
- 4-5 tbsp cold water
- For the glaze:
- 2 tbsp apricot jam
- 1 tbsp hot water
Equipment Needed
Large mixing bowl • Measuring jug • Wooden spoon • Clean tea towel or cling film • Lightly greased baking tray (approx. 30x20cm) • Small bowl for cross mixture • Piping bag or small plastic bag • Small saucepan for glaze • Pastry brush • Wire rack
Step-by-Step Instructions
- Begin by placing the strong white bread flour, caster sugar, yeast, mixed spice, cinnamon, and salt into a large mixing bowl. Give them a good stir with a spoon to combine thoroughly.
- In a separate jug, combine the melted butter, warmed milk (ensure it's not too hot, just comfortably warm to the touch), and the beaten egg. Pour this wet mixture into the dry ingredients in the bowl.
- Mix everything together with a wooden spoon until a soft, sticky dough begins to form. Turn the dough out onto a lightly floured surface and knead for 8-10 minutes until it feels smooth and elastic. This is crucial for a lovely texture.
- Place the kneaded dough back into a lightly oiled bowl, cover it with a clean tea towel or cling film, and leave it in a warm, draught-free place to prove for about 1-1½ hours, or until it has doubled in size.
- Once proved, turn the dough out onto your lightly floured surface again. Gently knead in the currants and mixed peel until they are evenly distributed throughout the dough. Try not to overwork it at this stage.
- Divide the dough into 12 equal pieces. Roll each piece into a smooth, round bun and arrange them on a lightly greased baking tray, leaving a little space between each bun as they will expand further.
- Cover the tray again with a clean tea towel and leave to prove for a second time in a warm place for another 30-45 minutes, or until the buns have nearly doubled in size once more and are looking plump.
- While the buns are having their second prove, preheat your oven to 200°C (180°C fan/Gas 6). Prepare the cross mixture by mixing the plain flour with the cold water in a small bowl until you have a smooth, thick paste. Spoon this mixture into a piping bag (or a small plastic bag with the corner snipped off).
- Once the buns are fully proved, pipe a cross onto the top of each bun. Bake in the preheated oven for 15-20 minutes, or until they are golden brown and sound hollow when tapped on the bottom.
- While the buns are still warm, prepare the glaze. Gently heat the apricot jam with the hot water in a small saucepan until it's melted and smooth. Brush this lovely glaze generously over the warm buns to give them a beautiful shine. Allow to cool slightly on a wire rack before serving.
How to Store \u0026 Reheat
To keep your hot cross buns wonderfully fresh, store them in an airtight container at room temperature for up to 3 days. If they start to feel a little dry, a quick refresh is in order. You can warm them gently in a microwave for 15-20 seconds for a soft bun, or pop them into a preheated oven (160°C/Gas 3) for 5-7 minutes until they are warmed through and slightly crisp on the outside. These buns also freeze beautifully for up to 3 months; simply thaw at room temperature and then warm as desired.
Mary's Secrets to Success
My top tip for truly wonderful hot cross buns is all about that initial knead – it needs to be thorough to develop the gluten, giving you that lovely, elastic dough. Don't skimp on the proving time either; patience is a virtue in baking, and a well-proved dough means a lighter, fluffier bun. And for that perfect shine, ensure your apricot glaze is warm when you brush it over the hot buns, it really makes all the difference for a beautiful finish!
Frequently Asked Questions
Why didn't my hot cross buns rise properly?
There are a few reasons this can happen, my dear. The most common culprits are old or inactive yeast, or your milk being too hot when added, which can kill the yeast. Ensure your yeast is fresh and the milk is just warm to the touch, not scalding. Also, make sure your proving spot is warm and free from draughts – yeast loves a cosy environment!
How do I get a neat cross on top?
Ah, the iconic cross! The key is in the consistency of your flour and water paste. It needs to be thick enough to hold its shape but still pliable enough to pipe smoothly. Use a small piping bag or even a plastic food bag with a tiny corner snipped off. Pipe the lines slowly and steadily, first in one direction, then across. Don't worry if your first few aren't perfect; practice makes perfect, as they say!
Can I prepare the dough the night before?
Indeed, you can! For convenience, after the first prove and incorporating the fruit, you can shape the buns and place them on your baking tray. Then, cover them loosely with oiled cling film and place them in the refrigerator overnight. In the morning, take them out and let them come to room temperature and have their second prove in a warm place for about 1-2 hours before piping the crosses and baking. This makes for a wonderful fresh bake for breakfast!
My buns turned out a bit dry; what went wrong?
Dry buns can often be a sign of over-baking or too much flour during the kneading process. Be sure to measure your flour accurately and resist the temptation to add extra flour when kneading, even if the dough feels a little sticky – a slightly sticky dough often makes for a softer bun. Keep a close eye on them in the oven and take them out as soon as they are golden and sound hollow when tapped.
Can I add different fruits or flavours to the buns?
Absolutely, feel free to experiment! While the classic currants and mixed peel are traditional, you could certainly substitute them with sultanas, chopped dried apricots, or even chocolate chips for a different twist. A little extra orange or lemon zest can also add a lovely brightness. Just ensure the total weight of added fruit remains similar to the recipe.
Useful Baking Tools
Wrong tin size, a fan oven, or ingredients in cups or ounces? Convert everything first with our free tools: