Mary Berry Recipes
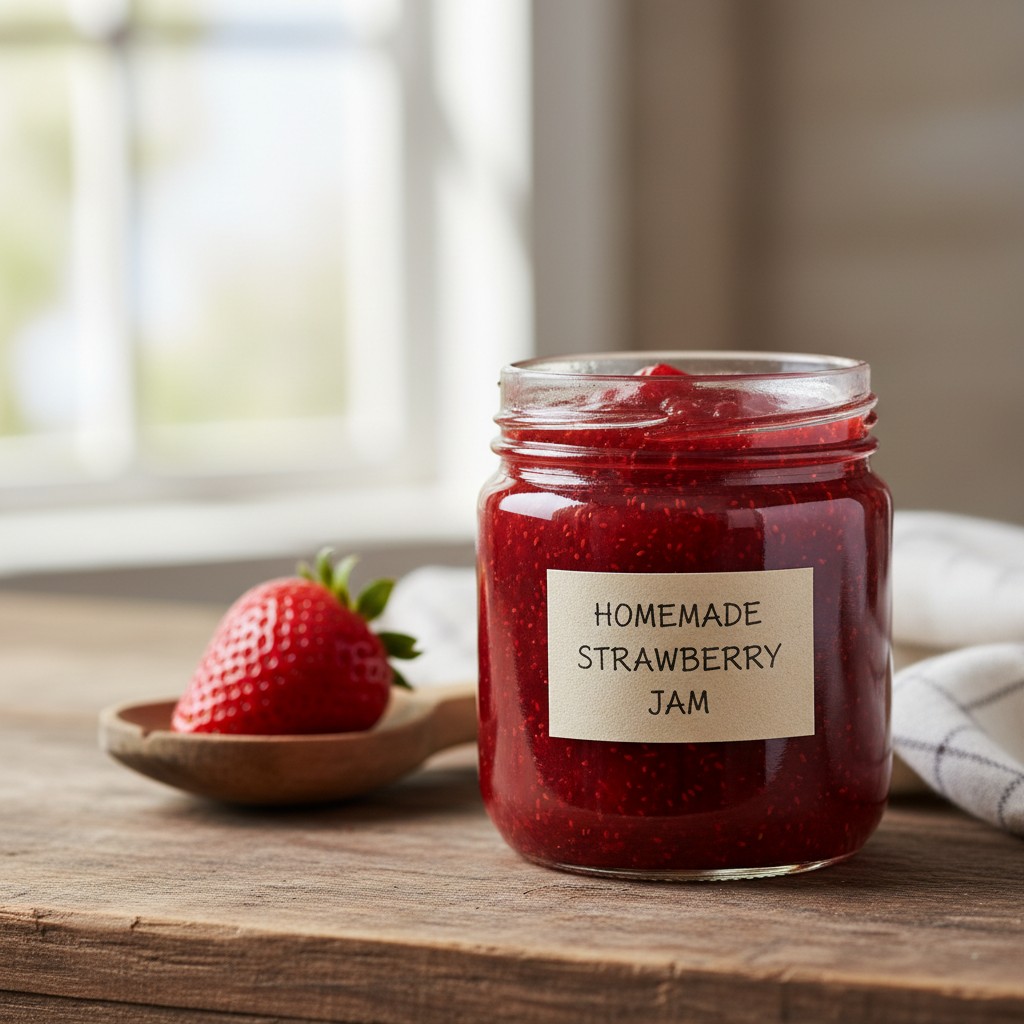
Classic Homemade Strawberry Jam
There's nothing quite like the taste of homemade strawberry jam, bursting with the sweetness of summer. This recipe, a true family favourite, is wonderfully simple to follow, ensuring a delightful preserve every time.
Why You'll Love This Recipe
- Uses fresh, seasonal strawberries for the best flavour and colour.
- A straightforward method, making it accessible for home cooks of all skill levels.
- Produces a jam with a beautiful, natural set without the need for added pectin.
- A versatile preserve, perfect for breakfast, afternoon tea, or as a thoughtful homemade gift.
Ingredients
- 1.5 kg (3.3 lb) ripe strawberries, hulled
- 1.5 kg (3.3 lb) granulated sugar
- Juice of 2 lemons
- 25g (1 oz) unsalted butter (optional, for reducing foam)
Equipment Needed
Large, heavy-bottomed preserving pan or very large saucepan • Sterilised jam jars and lids • Ladle • Jam funnel (optional, but very helpful) • Small plates for setting test (chilled in freezer) • Heatproof spatula or wooden spoon

Step-by-Step Instructions
- First, my dear, ensure your jam jars and lids are perfectly clean and sterilised. You can do this by washing them in hot, soapy water, rinsing well, and then placing them in a low oven (130°C/250°F/Gas Mark ½) for about 10-15 minutes, or running them through a hot cycle in your dishwasher. Keep them warm until ready to fill.
- Carefully hull the strawberries, removing the green tops. If any strawberries are particularly large, you may wish to halve or quarter them. Place them into a large, heavy-bottomed preserving pan or a very large saucepan.
- Add the granulated sugar and lemon juice to the strawberries in the pan. Stir gently to combine. Allow the mixture to stand for at least 30 minutes, or even overnight, to allow the sugar to draw out the lovely strawberry juices. This process, called maceration, helps the fruit retain its shape and flavour.
- Place the pan over a low heat and stir continuously until all the sugar has completely dissolved. Do not rush this step, as undissolved sugar can cause your jam to crystallise later. You'll know it's dissolved when the mixture looks clear and no sugar crystals are visible on the back of a spoon.
- Once the sugar has dissolved, increase the heat to a rolling boil. Boil vigorously for 15-20 minutes, stirring occasionally to prevent sticking. Be careful, as the jam will bubble up.
- Now, it's time to test for the setting point. Before you started, you should have placed a few small saucers in the freezer. Take one out, spoon a small amount of hot jam onto it, and let it cool for a minute. Then, push the jam with your fingertip; if it wrinkles, it has reached its setting point. If not, continue to boil for another 5 minutes and test again. Repeat until the setting point is reached.
- Once set, take the pan off the heat. If there's any foam on the surface, stir in the optional knob of butter; this will help it disperse beautifully. Skim off any remaining foam with a metal spoon.
- Carefully ladle the hot jam into your warm, sterilised jars, filling them right to the brim. Place the lids on immediately and seal tightly. As the jam cools, a vacuum seal will form.
- Allow the jars to cool completely at room temperature. Once cool, label them with the date and store them in a cool, dark place. Enjoy your wonderfully homemade jam!
- Remember, my dear, a little precision and care at each step will ensure a truly delicious result that you'll be proud to share.
How to Store \u0026 Reheat
Once your jam jars are sealed and cooled, store them in a cool, dark cupboard or pantry. Properly sealed jars will keep for up to a year. Once a jar is opened, it must be stored in the refrigerator and consumed within 4-6 weeks. There's no need to reheat jam; it's best enjoyed at room temperature or chilled.
Mary's Secrets to Success
For truly superb strawberry jam, always choose ripe, fragrant strawberries – the sweeter the better! Don't be tempted to overcrowd your preserving pan; if you're making a very large batch, it's better to divide it and cook in two separate pans. This ensures the jam boils vigorously and reaches the setting point efficiently. And remember, my dear, a little patience when dissolving the sugar and testing for the set will lead to sheer perfection. Finally, that little knob of butter at the end is my secret for reducing any unsightly foam, giving you a beautifully clear, gleaming jam.
Frequently Asked Questions
How do I know if my jam has reached the setting point?
My dear, the wrinkle test is the most reliable method. Before you start cooking, place a few small saucers in the freezer. When you think the jam is ready, spoon a small amount onto a cold saucer, let it cool for a minute or two, then push it gently with your fingertip. If the surface wrinkles, it's ready! If not, continue to boil and test again every few minutes.
Why is lemon juice used in jam making?
Lemon juice is absolutely crucial for two main reasons. Firstly, it adds a lovely tartness that balances the sweetness of the strawberries, enhancing their natural flavour. Secondly, and very importantly, lemons are naturally high in pectin, which helps the jam to set beautifully. Without it, your jam might be a little too runny.
Can I use frozen strawberries for this recipe?
You certainly can use frozen strawberries, but do remember they will release more liquid as they thaw and cook. This means you might need to boil the jam for a little longer to reach the correct setting point. There's no need to thaw them beforehand; you can add them directly to the pan with the sugar.
My jam isn't setting, what should I do?
Don't despair, my dear! This can happen. The most common reason is that it hasn't boiled long enough or vigorously enough. Return the jam to a high heat and continue to boil for another 5-10 minutes, testing for the setting point every few minutes with a fresh cold saucer. If it still refuses to set after extended boiling, you could stir in a sachet of commercial liquid pectin, following the packet instructions, or simply embrace it as a delicious strawberry sauce!
How important is sterilising the jars?
Sterilising your jars is absolutely vital for food safety and for ensuring your jam keeps well. It kills any bacteria, yeasts, or moulds that could cause your jam to spoil quickly. Always use clean, sterilised, and warm jars to prevent cracking when filling with hot jam, and to ensure a good seal.