Mary Berry Recipes
Classic Chocolate Brownies
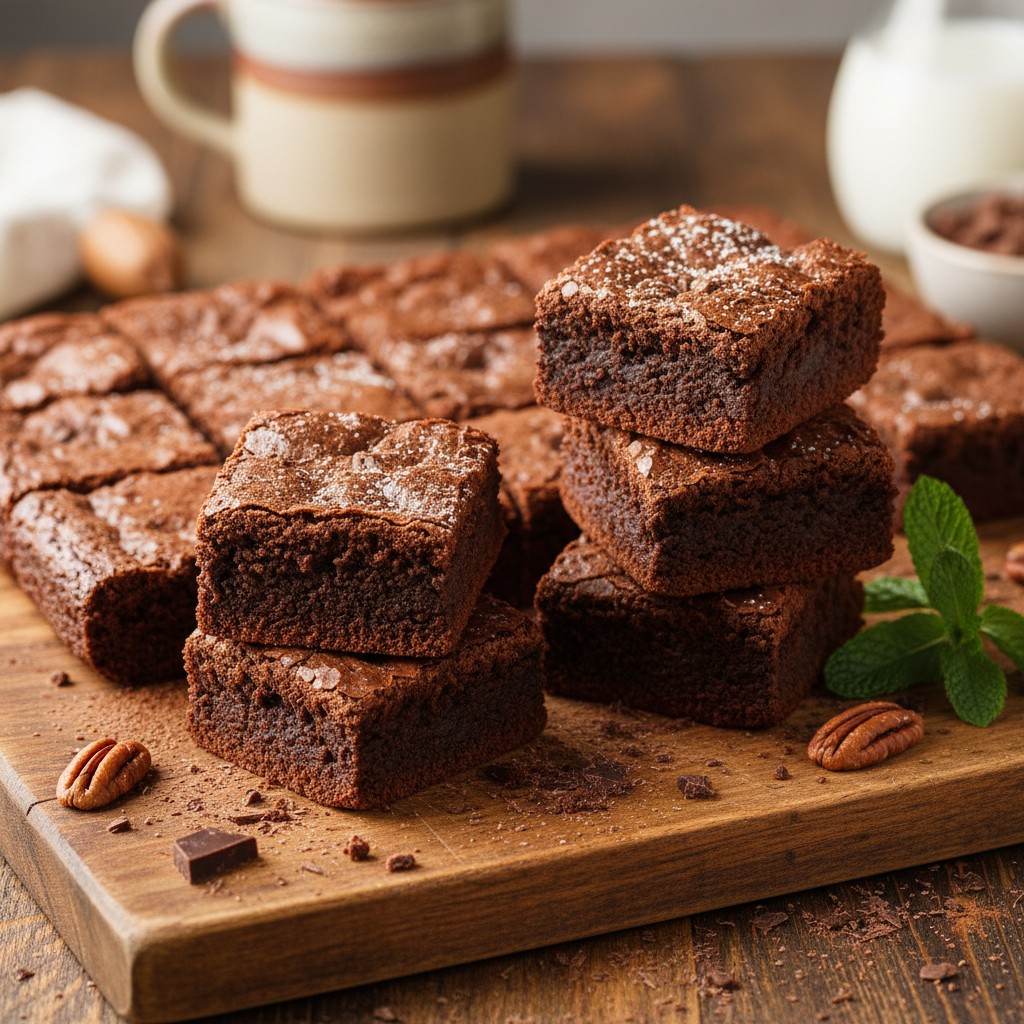
These classic chocolate brownies are a true delight, delivering a rich, fudgy texture and intense chocolate flavour that's simply irresistible. A wonderfully simple recipe for a beloved treat, perfect for any occasion.
Why You'll Love This Recipe
- Achieves that coveted fudgy centre with a delightful crinkled top.
- Uses a blend of dark chocolate and cocoa for a truly deep, rich chocolate flavour.
- Wonderfully simple to prepare, making it perfect for bakers of all skill levels.
Ingredients
- 200g unsalted butter, diced
- 200g good quality dark chocolate (at least 70% cocoa solids), broken into pieces
- 3 large free-range eggs
- 275g caster sugar
- 100g plain flour
- 50g cocoa powder
- 1/2 teaspoon baking powder
- Pinch of salt
- Optional: 100g chocolate chips or chopped nuts (walnuts or pecans work beautifully)
Equipment Needed
23cm (9-inch) square baking tin • Baking parchment • Large heatproof bowl • Saucepan • Large mixing bowl • Whisk (electric or balloon) • Sieve • Rubber spatula • Wire cooling rack

Step-by-Step Instructions
- Preheat your oven to 180°C (160°C fan/Gas Mark 4). Line a 23cm (9-inch) square baking tin with baking parchment, leaving an overhang on two sides to help lift the brownies out later.
- Gently melt the butter and dark chocolate together in a heatproof bowl set over a saucepan of simmering water (a bain-marie), ensuring the bowl doesn't touch the water. Stir occasionally until smooth and glossy, then remove from the heat and allow to cool slightly.
- In a large mixing bowl, whisk the eggs and caster sugar together until light, pale, and slightly frothy. You don't need to whisk them to stiff peaks, just until well combined and aerated.
- Pour the cooled chocolate and butter mixture into the egg and sugar mixture. Fold them together gently until just combined. Be careful not to overmix at this stage.
- Sift the plain flour, cocoa powder, baking powder, and a pinch of salt directly into the wet mixture. Fold gently with a spatula until no streaks of flour remain. If using, fold in the chocolate chips or chopped nuts now. Again, avoid overmixing; a few lumps are perfectly fine!
- Pour the brownie batter into your prepared baking tin and spread evenly.
- Bake for 25-30 minutes. The brownies should have a lovely crinkled top and feel set around the edges, but still have a slight wobble in the centre. This wobble is key to ensuring a wonderfully fudgy interior.
- Remove from the oven and leave to cool completely in the tin on a wire rack. This is crucial for achieving that perfect fudgy texture and for easy cutting. Once fully cooled, lift out of the tin using the parchment paper and cut into squares.
How to Store \u0026 Reheat
Store cooled brownies in an airtight container at room temperature for up to 3-4 days. They freeze beautifully too! Wrap individual squares tightly in cling film, then place in a freezer-safe bag or container for up to 3 months. Thaw at room temperature for a few hours. If you wish to warm them gently, a few seconds in the microwave will bring back that lovely gooey texture.
Mary's Secrets to Success
Do not overbake! This is the golden rule for fudgy brownies. A slight wobble in the centre is exactly what you're looking for. Cool completely: Resist the urge to cut into warm brownies. Cooling them fully allows them to firm up and become wonderfully fudgy. Quality ingredients: Using good quality dark chocolate truly makes all the difference to the depth of flavour. Sift your dry ingredients: This prevents lumps and ensures a smooth, even texture.
Frequently Asked Questions
My brownies turned out too cakey, what did I do wrong?
Ah, a common query! This usually happens if you’ve overbaked them. Remember, brownies should still have a slight wobble in the centre when you take them out of the oven. They will continue to cook and set as they cool. Also, overmixing the flour can develop the gluten too much, leading to a cake-like texture.
Can I add other flavourings to this recipe?
Absolutely, my dear! This is a wonderful base. A teaspoon of vanilla extract added with the eggs is always lovely. For a hint of warmth, a pinch of chilli powder or a dash of instant coffee granules dissolved in a tablespoon of hot water can elevate the chocolate flavour beautifully. Orange zest or a swirl of peanut butter before baking are also delightful additions.
How do I get that lovely shiny, crinkled top?
The secret to that wonderful crinkled top lies in two main things: ensuring your sugar is well dissolved and creating a crust early in the baking process. Whisking the eggs and sugar until pale and frothy helps, as does the initial high heat of the oven, which sets the top quickly before the inside is fully cooked. Don't open the oven door too early!
What kind of chocolate is best to use?
For a truly rich and decadent brownie, I always recommend using a good quality dark chocolate with at least 70% cocoa solids for melting. This provides depth of flavour. For any chocolate chips you fold in, you can use milk, dark, or white chocolate, depending on your preference.
Can I make these in advance for a party?
Indeed you can! Brownies are absolutely perfect for making ahead. They taste even better the next day, as the flavours have a chance to meld beautifully. Store them in an airtight container at room temperature, and they'll be wonderfully fresh for your guests.