Mary Berry Recipes
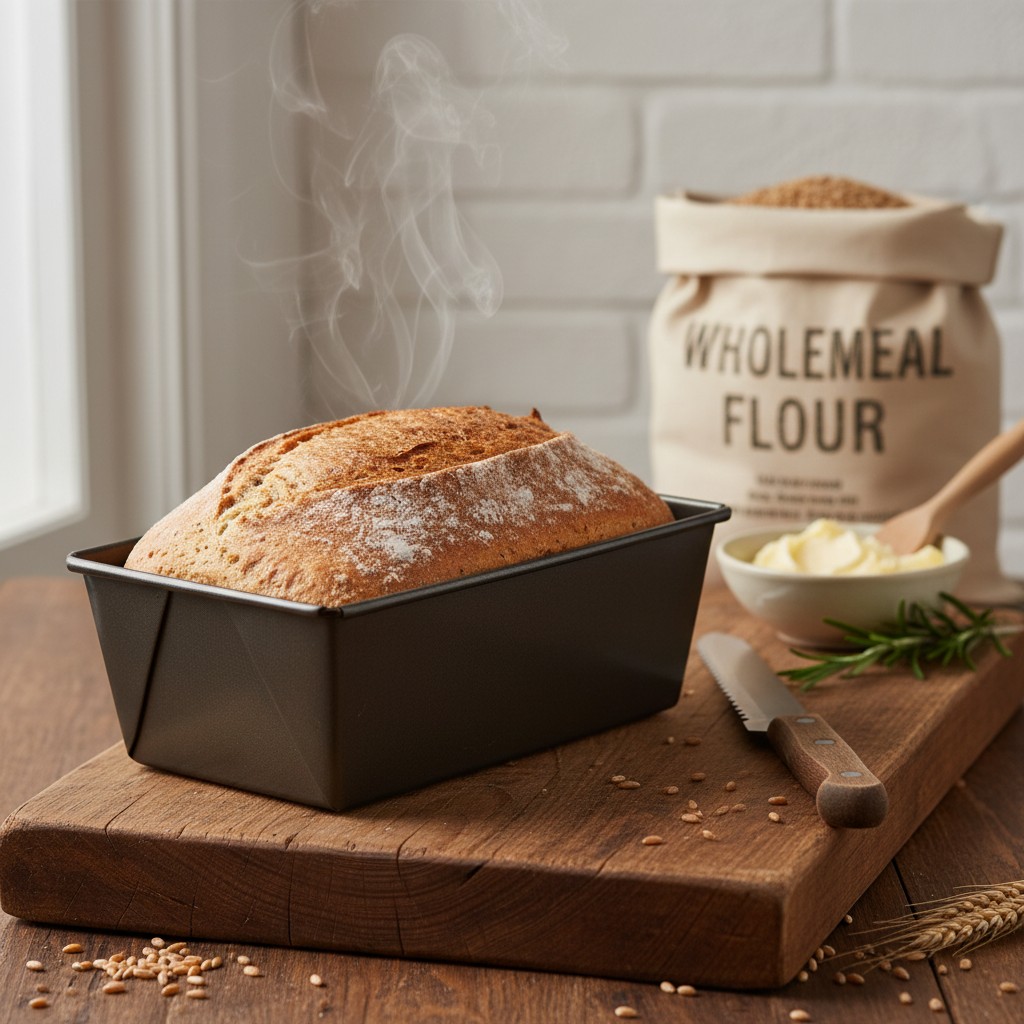
Classic Wholemeal Loaf
There's nothing quite like the aroma of freshly baked bread, and this classic wholemeal loaf recipe is wonderfully simple and utterly satisfying. You'll be amazed at how easy it is to create a nutritious, flavourful staple for your family.
Why You'll Love This Recipe
- Uses readily available ingredients and a straightforward method, making it accessible for even novice bakers.
- The precise measurements and clear steps ensure a reliable rise and a beautifully textured loaf every time.
- Provides a wholesome, fibre-rich alternative to shop-bought bread, without compromising on flavour or satisfaction.
Ingredients
- 500g strong wholemeal bread flour, plus extra for dusting
- 10g fast-action dried yeast
- 10g fine salt
- 30g unsalted butter, softened, plus extra for greasing
- 325ml warm water (approx. 37°C/98°F)
- 1 tsp sugar (optional, to activate yeast)
Equipment Needed
Large mixing bowl • Wooden spoon or sturdy spatula • Measuring jug • Digital kitchen scales • 900g (2lb) loaf tin • Cling film or damp tea towel • Wire cooling rack

Step-by-Step Instructions
- Begin by lightly greasing a 900g (2lb) loaf tin with butter. This ensures your beautiful loaf will turn out easily.
- In a large mixing bowl, combine the strong wholemeal bread flour, fast-action dried yeast, and salt. Give it a good whisk to ensure everything is evenly distributed. If using sugar to activate the yeast, you can stir it into the warm water now.
- Add the softened butter and the warm water to the dry ingredients. Mix everything together with a wooden spoon or your hands until a shaggy dough forms. Don't worry if it looks a little rustic at this stage.
- Turn the dough out onto a lightly floured surface. Now comes the kneading! Knead vigorously for about 8-10 minutes. Push the dough away from you with the heel of your hand, fold it back, turn, and repeat. You're looking for a smooth, elastic dough that springs back when gently poked.
- Place the kneaded dough into a clean, lightly oiled bowl, turning it once to coat. Cover the bowl with cling film or a damp tea towel and leave it in a warm place for about 1 to 1½ hours, or until it has doubled in size. This is the first prove, and it's essential for a light texture.
- Once doubled, gently punch down the dough to release the air. Turn it out onto a lightly floured surface and briefly knead it for a minute or two to knock out any large air bubbles.
- Shape the dough into a neat oblong, roughly the length of your prepared loaf tin. Place it into the tin, seam-side down. Cover the tin again with cling film or a damp tea towel and leave it to prove for a second time, for about 30-45 minutes, or until it has risen to just above the rim of the tin.
- Meanwhile, preheat your oven to 220°C (200°C Fan/Gas Mark 7).
- Once the second prove is complete, bake the loaf in the preheated oven for 30-35 minutes, or until it's a beautiful golden brown and sounds hollow when tapped on the bottom. If it's browning too quickly, you can cover it loosely with foil.
- Carefully remove the loaf from the tin and transfer it to a wire rack to cool completely. Resist the urge to slice into it too soon; cooling allows the internal structure to set properly. Enjoy your wonderfully homemade wholemeal loaf!
How to Store \u0026 Reheat
To keep your wholemeal loaf at its best, store it in an airtight container or a bread bin at room temperature for up to 3-4 days. Avoid refrigerating, as this can dry out the bread. If you wish to keep it longer, slice the cooled loaf and freeze the slices in a freezer bag for up to 3 months. You can then toast slices directly from frozen, or thaw them at room temperature for an hour or so.
Mary's Secrets to Success
The secret to a truly superb wholemeal loaf lies in two key areas: kneading and proving. Don't be afraid to get your hands in and knead the dough thoroughly; this develops the gluten and gives your bread its wonderful structure. And patience, my dears, is a virtue during the proving stages. Give the yeast ample time in a warm, cosy spot, and it will reward you with a magnificent rise. Remember, a little love and attention at each stage will result in sheer perfection!
Frequently Asked Questions
Why didn't my bread rise properly?
There are a few common culprits, dear. Firstly, check your yeast's expiry date; old yeast loses its potency. Secondly, ensure your water isn't too hot (which kills the yeast) or too cold (which slows it down). Aim for lukewarm, about body temperature. Lastly, a warm, draught-free place for proving is essential for the yeast to work its magic.
Can I add seeds or grains to this recipe?
Absolutely, that's a lovely idea for added texture and nutrition! You can mix about 50g of seeds (such as sunflower, pumpkin, or flax) into the dry ingredients along with the flour. Alternatively, sprinkle some on top of the loaf before the second prove for a beautiful crust.
How do I know when the bread is fully baked?
The best way to tell is by tapping the bottom of the loaf. If it sounds hollow, it's perfectly baked. The crust should also be a lovely golden brown. If you have a thermometer, the internal temperature should reach about 90-95°C (195-205°F).
My crust is too hard, what can I do?
A very hard crust can sometimes be due to over-baking or a very dry oven. You can try placing a small oven-safe dish of water on the bottom shelf of your oven during baking to create some steam, which helps to keep the crust a little softer. Also, ensure you're not baking it for too long.
Can I make this dough in a stand mixer?
Oh yes, a stand mixer with a dough hook makes light work of the kneading! Mix on a low speed for about 5-7 minutes, until the dough is smooth and elastic. It saves your arms a bit of effort, which is always a bonus!