Mary Berry Recipes
Classic Melt-in-the-Mouth Shortbread
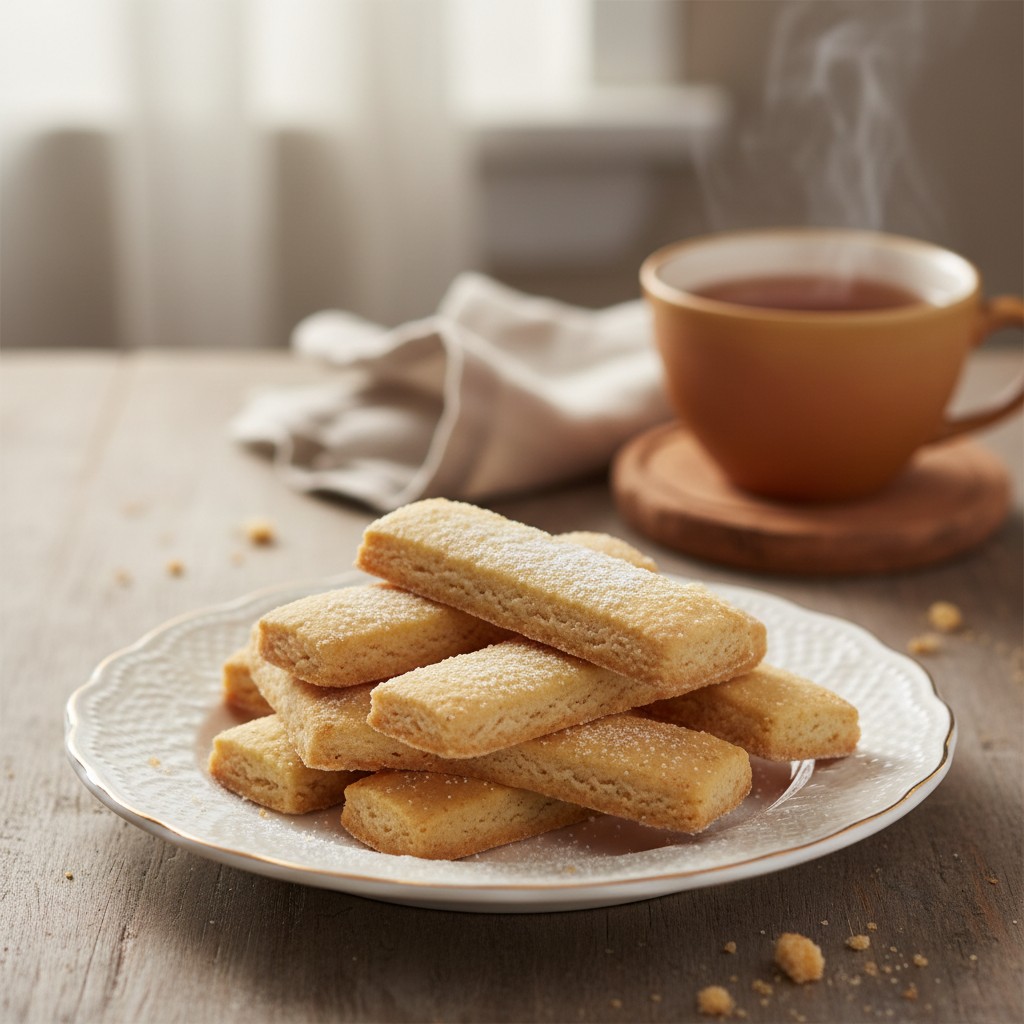
There is nothing quite like a classic, buttery shortbread to accompany a cup of tea. My recipe is wonderfully simple and guarantees that perfect melt-in-the-mouth texture every time.
Why You'll Love This Recipe
- The use of cold, cubed butter, rubbed into the flour, creates a 'short' pastry, which is the key to that desirable crumbly, melt-in-the-mouth texture.
- Adding a small amount of semolina or cornflour alongside the plain flour provides a delicate, sandy crunch that is characteristic of the very best traditional shortbread.
- Chilling the pressed dough in the tin before baking is a crucial step. It helps the shortbread hold its shape, prevents it from spreading, and ensures a crisp, even bake.
Ingredients
- 225g (8oz) plain flour
- 75g (3oz) caster sugar, plus extra for sprinkling
- 175g (6oz) cold salted butter, cut into small cubes
- 50g (2oz) semolina or cornflour
Equipment Needed
20cm (8in) round loose-bottomed fluted tart tin or sandwich tin • Large mixing bowl • Weighing scales • Sieve • Sharp knife • Fork • Wire cooling rack

Step-by-Step Instructions
- Preheat your oven to 160°C/140°C Fan/Gas 3. Lightly grease a 20cm (8in) round, loose-bottomed fluted tart tin or a sandwich tin.
- Sift the plain flour and semolina (or cornflour) into a large mixing bowl to ensure they are well combined and free of lumps.
- Add the cold, cubed butter to the bowl. Using just your fingertips, rub the butter into the flour mixture until it resembles fine breadcrumbs. Try to do this quickly to keep the butter as cold as possible.
- Stir in the caster sugar with a wooden spoon or spatula until just combined.
- Bring the mixture together with your hands, pressing it gently to form a soft dough. Be careful not to knead or overwork it, as this will make the shortbread tough.
- Press the dough evenly into the base of your prepared tin, levelling the surface with the back of a spoon.
- Place the tin in the refrigerator to chill for at least 30 minutes. This is a vital step to ensure a crisp bake.
- Remove from the fridge and prick the surface all over with a fork. Using a sharp knife, score the dough into 12 equal wedges, cutting about halfway through.
- Bake in the preheated oven for 30-35 minutes, or until a very pale golden colour and firm to the touch. It should not be brown.
- Remove from the oven and, while it's still warm, sprinkle generously with a little extra caster sugar. Re-cut the scored wedges, this time cutting all the way through.
- Leave the shortbread to cool completely in the tin before carefully removing it and breaking it into wedges. If you try to move it while warm, it will crumble.
How to Store \u0026 Reheat
Once completely cool, store your shortbread in an airtight container or biscuit tin at room temperature. It will stay crisp and delicious for up to a week. There is no need for reheating; it is best enjoyed as it is.
Mary's Secrets to Success
For sheer perfection, follow my secrets to success. First, always use cold butter, straight from the fridge; this is what makes the biscuit 'short' and crumbly. Second, do not be tempted to overwork the dough; handle it lightly and quickly. Finally, bake until it is a pale, creamy gold colour – if it's too brown, it will lose that delicate, melt-in-the-mouth quality.
Frequently Asked Questions
Why is my shortbread tough instead of crumbly?
This is almost always due to overworking the dough. When you knead or mix the dough for too long after adding the butter, you develop the gluten in the flour, which results in a tough, chewy texture rather than the desired 'short' crumb. Handle the dough as little as possible.
Can I make this shortbread dough in a food processor?
You certainly can, and it's very quick! Simply pulse the flour, semolina, and cold butter until it resembles breadcrumbs. Then, add the sugar and pulse briefly until it just comes together. Be very careful not to over-process it.
Is it absolutely necessary to chill the dough?
Yes, I really must insist on this step! Chilling the dough solidifies the butter. This prevents the shortbread from spreading out in the oven, helps it keep its shape, and is the secret to achieving that wonderfully crisp, professional finish.
Can I freeze shortbread?
Yes, it freezes beautifully. You can freeze the unbaked dough, wrapped well in cling film, for up to 3 months. Simply press it into the tin from frozen and bake for a little longer. Alternatively, you can freeze the baked and cooled shortbread in an airtight container for up to a month.
My shortbread spread and lost its shape. What did I do wrong?
This can happen for a couple of reasons. Your butter may have been too soft when you started, or the dough became too warm. It can also happen if you skip the crucial chilling step before baking. Using cold butter and chilling the dough are the keys to success.