Mary Berry Recipes
Glorious Homemade Raspberry Jam
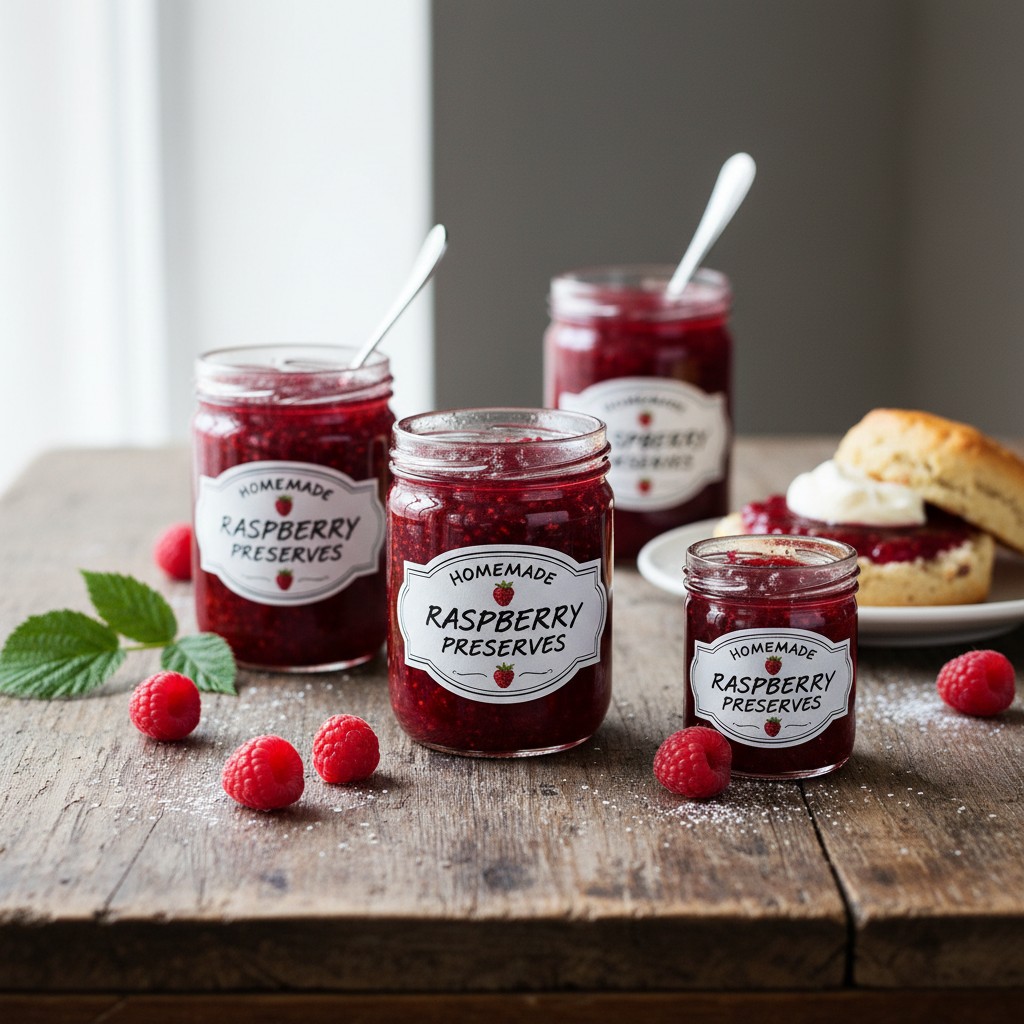
There's nothing quite like the taste of homemade raspberry jam, brimming with the sweetness of summer. This recipe is wonderfully straightforward, ensuring a perfectly set, vibrant spread every time.
Why You'll Love This Recipe
- Uses readily available ingredients for a truly authentic flavour.
- A reliable method to achieve a perfect set without the need for added pectin.
- Captures the fresh, bright taste of summer raspberries in every spoonful.
Ingredients
- 1.5 kg (3 lb 5 oz) fresh raspberries, ideally slightly under-ripe for natural pectin
- 1.5 kg (3 lb 5 oz) granulated sugar
- Juice of 2 lemons
- Optional: A small knob of unsalted butter (about 10g/½ oz) to reduce scum
Equipment Needed
Large, heavy-bottomed preserving pan (or very large saucepan) • Wooden spoon or heatproof spatula • Potato masher (optional) • Jam funnel • Sterilised jam jars with lids (approx. 5 x 340g) • Small saucers (chilled in fridge/freezer for testing set) • Ladle • Sugar thermometer (optional, but helpful for beginners)

Step-by-Step Instructions
- **1. Prepare Your Jars:** First, and this is crucial for successful jam making, sterilise your jam jars and lids. Wash them thoroughly in hot, soapy water, rinse well, then place them on a baking tray in a cold oven. Heat the oven to 130°C (110°C fan/Gas 1) for 15-20 minutes. Leave them in the oven until you're ready to fill them.
- **2. Prepare the Fruit:** Gently wash the raspberries and drain them well. Place them in a large, heavy-bottomed preserving pan or a very large saucepan. Add the lemon juice.
- **3. Start Cooking:** Heat the raspberries gently over a low heat, stirring occasionally, until they soften and release their juices. This should take about 5-10 minutes. Use a potato masher or the back of a spoon to lightly crush some of the fruit, if you prefer a less chunky jam.
- **4. Add the Sugar:** Add the granulated sugar to the pan. Stir continuously over a low heat until all the sugar has completely dissolved. You'll know it's dissolved when the mixture looks clear and you can no longer feel any gritty sugar crystals when you rub a small amount between your fingers. Do not rush this step, as undissolved sugar can lead to a grainy jam.
- **5. Bring to a Rolling Boil:** Once the sugar is dissolved, increase the heat and bring the jam to a rapid, rolling boil. This is essential for setting. Boil vigorously for 5-10 minutes. If using, add the small knob of butter now to help disperse any foam that forms on the surface.
- **6. Test for a Set:** After 5 minutes of rapid boiling, begin testing for a set. Remove the pan from the heat. Place a teaspoon of jam onto a chilled saucer (which you should have placed in the fridge or freezer before you started). Let it cool for a minute, then push your finger through the jam. If it wrinkles on the surface, it has reached its setting point. If not, return the pan to the heat and boil for another 2-3 minutes before testing again. Repeat until a set is achieved. Remember, the jam will thicken further as it cools.
- **7. Skim and Pot:** Once the setting point is reached, take the pan off the heat. If there's any remaining scum on the surface, carefully skim it off with a spoon. Ladle the hot jam into your warm, sterilised jars using a jam funnel. Fill them right up to the brim.
- **8. Seal and Cool:** Immediately cover the jars with their sterilised lids. As the jam cools, the lids will seal, creating a vacuum that helps preserve the jam. Allow the jars to cool completely at room temperature. Label and date your jars before storing.
How to Store \u0026 Reheat
Once made, store your unopened jars of raspberry jam in a cool, dark cupboard for up to 12 months. Once opened, keep the jam refrigerated and consume within 4-6 weeks. There's no need to reheat jam; it's best served at room temperature or chilled.
Mary's Secrets to Success
My dear, the secret to truly wonderful jam lies in a few simple steps. Firstly, don't skimp on the quality of your fruit; fresh, ripe (or slightly under-ripe for good pectin) raspberries are key. Secondly, ensure your sugar is completely dissolved before bringing the jam to a rolling boil – this prevents a grainy texture. And thirdly, a rapid, rolling boil is crucial for achieving that perfect set. Don't be afraid of it! Finally, always, always sterilise your jars properly; it’s the golden rule for successful preserving. Enjoy every spoonful!
Frequently Asked Questions
How do I know if my jars are properly sterilised?
Properly sterilised jars are essential for preserving. After washing and rinsing, heating them in the oven at 130°C (110°C fan/Gas 1) for 15-20 minutes ensures any bacteria are killed. They should be hot when you fill them with the hot jam, which helps create a vacuum seal as they cool. A 'pop' from the lid as it cools is a good sign of a successful seal.
What's the best way to test for a 'set' without a thermometer?
The wrinkle test is my preferred method! Place a few small saucers in the fridge or freezer before you start. When you think the jam is ready, remove the pan from the heat, spoon a small amount onto a chilled saucer, and let it cool for a minute. Then, push your finger gently through the jam. If it wrinkles and forms a skin, it’s set. If it's still runny, boil for another 2-3 minutes and re-test.
My jam isn't setting, what should I do?
Don't despair! Jam not setting usually means it hasn't boiled long enough to reach the correct temperature (around 104.5°C/220°F) or that the fruit had very low pectin. You can return the jam to the heat, bring it back to a rapid boil, and continue to boil vigorously, testing every few minutes. Adding a little more lemon juice or a small sachet of commercial pectin (following its instructions) can also help. Remember, it will thicken considerably as it cools.
Can I reduce the amount of sugar in this recipe?
While it's tempting to reduce sugar, it plays a vital role in jam making – not just for sweetness, but also for its preserving qualities and to help with the set. Reducing it too much can result in a jam that doesn't set properly and has a much shorter shelf life. For this traditional recipe, I recommend sticking to the quantities for the best results.
How long does homemade raspberry jam last?
When properly sterilised and sealed, your homemade raspberry jam will last for up to a year in a cool, dark place. Once a jar has been opened, it should be stored in the refrigerator and consumed within 4-6 weeks. Always check for any signs of spoilage, though with proper technique, this should not be an issue!