Mary Berry Recipes
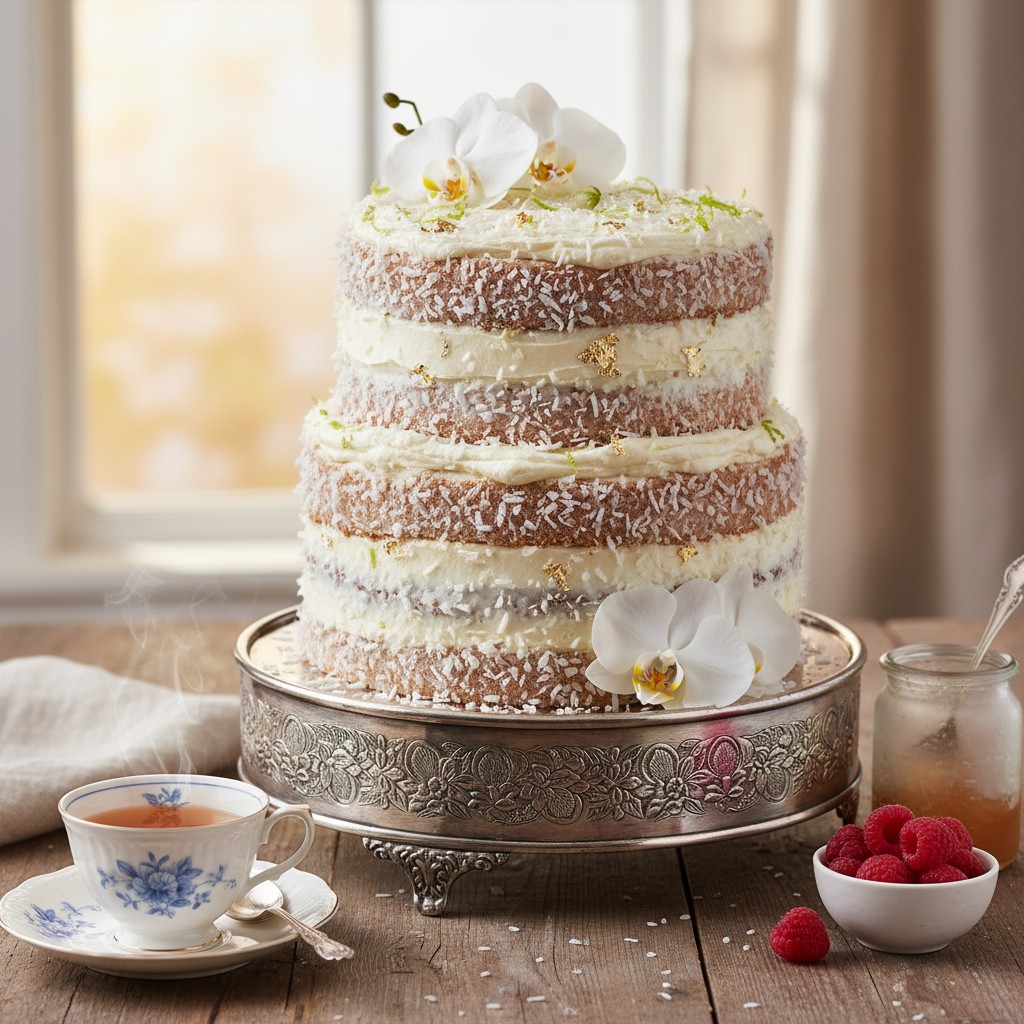
Classic Coconut Layer Cake
There's nothing quite like the comforting taste of a beautifully baked coconut cake, a true ray of sunshine in any kitchen. This recipe is wonderfully simple to follow, promising a moist crumb and delightful flavour every single time.
Why You'll Love This Recipe
- This recipe uses the 'all-in-one' method, making it wonderfully simple and quick to prepare, perfect for busy bakers.
- The combination of milk and desiccated coconut ensures a beautifully moist and tender crumb that stays fresh for days.
- It’s a versatile cake, perfect for a casual family dessert or dressed up for a special celebration, always a crowd-pleaser.
Ingredients
- For the Cake:
- 225g (8oz) self-raising flour
- 1 tsp baking powder
- 225g (8oz) caster sugar
- 225g (8oz) softened butter (or baking margarine)
- 4 large eggs
- 50g (2oz) desiccated coconut
- 4 tbsp milk
- 1 tsp vanilla extract
- For the Buttercream Icing:
- 175g (6oz) softened butter
- 350g (12oz) icing sugar, sifted
- 2 tbsp milk (or coconut milk for extra flavour)
- 1 tsp vanilla extract
- 50g (2oz) desiccated coconut (plus extra for decorating)
Equipment Needed
2 x 20cm (8-inch) round sandwich tins • Baking parchment • Large mixing bowl • Electric mixer (handheld or stand mixer) • Spatula or wooden spoon • Wire cooling rack • Sieve (for icing sugar)
Step-by-Step Instructions
- Preheat your oven to 180°C (160°C fan/Gas Mark 4). Lightly grease and line two 20cm (8-inch) round sandwich tins with baking parchment. This ensures your cakes release beautifully.
- For the cake mixture, simply place the self-raising flour, baking powder, caster sugar, softened butter, eggs, 50g (2oz) desiccated coconut, milk, and vanilla extract into a large mixing bowl. It’s an 'all-in-one' method, wonderfully straightforward!
- Beat all the ingredients together with an electric mixer until they are thoroughly combined and the mixture is light and creamy. Take care not to overmix, just until everything is incorporated and smooth.
- Divide the mixture evenly between the two prepared sandwich tins. Gently level the tops with the back of a spoon or a small palette knife.
- Bake in the preheated oven for 30-35 minutes, or until the cakes are golden brown, well risen, and spring back when lightly touched in the centre. A skewer inserted into the middle should come out clean.
- Once baked, leave the cakes to cool in their tins for about 5-10 minutes before turning them out onto a wire rack to cool completely. This is a crucial step for a perfect finish.
- While the cakes are cooling, prepare the buttercream icing. Place the softened butter into a bowl and beat until very light and fluffy. Gradually add the sifted icing sugar, beating well after each addition until smooth.
- Stir in the milk and vanilla extract, then beat again until the icing is lovely and creamy. Finally, fold in the 50g (2oz) desiccated coconut.
- Once the cakes are completely cold, spread about one-third of the buttercream over the top of one cake. Place the second cake on top.
- Use the remaining buttercream to generously cover the top and sides of the assembled cake. For a charming finish, gently press extra desiccated coconut onto the top and sides of the cake. Serve and enjoy this truly delightful bake!
How to Store \u0026 Reheat
This classic coconut cake will keep beautifully in an airtight container at room temperature for up to 3-4 days. There's no need to refrigerate it, as this can sometimes dry out the sponge. If you wish to freeze it, wrap individual slices or the whole unfrosted cake tightly in cling film and then foil. It will keep for up to 3 months. Thaw thoroughly at room temperature before frosting or serving. I don't recommend reheating a frosted cake, it's best enjoyed at room temperature.
Mary's Secrets to Success
My little secret to success for this cake is ensuring all your ingredients are at room temperature, especially the butter and eggs. This helps them emulsify beautifully, creating a much smoother batter and a lighter, more even sponge. Also, resist the temptation to open the oven door too early; patience is a virtue in baking! And always, always cool your cakes completely before icing – a warm cake will simply melt your beautiful buttercream.
Frequently Asked Questions
Can I use fresh coconut instead of desiccated?
While desiccated coconut is ideal for its moisture absorption and fine texture in this recipe, you could use finely grated fresh coconut. However, you might need to slightly reduce the milk in the cake mixture as fresh coconut contains more moisture. It will give a lovely, slightly different texture.
How do I ensure my cake is perfectly moist?
The key to a moist cake lies in two things: using room temperature ingredients and not overmixing the batter. Overmixing develops the gluten in the flour too much, which can lead to a dry cake. Also, ensure you don't overbake; test with a skewer, and remove it from the oven as soon as it comes out clean.
Can I make this into cupcakes?
Absolutely! This recipe adapts beautifully to cupcakes. Simply divide the mixture into 18-24 cupcake cases in a muffin tin. The baking time will be significantly reduced, usually around 20-25 minutes. Keep a close eye on them and test for doneness with a skewer.
My buttercream is too stiff/too runny, what should I do?
If your buttercream is too stiff, add a tiny splash more milk (or coconut milk) a teaspoon at a time, beating well after each addition until it reaches the desired consistency. If it's too runny, add a little more sifted icing sugar, again, a tablespoon at a time, until it's perfect. Patience is key here!
Can I add other flavours to the coconut cake?
Certainly! Coconut pairs beautifully with many flavours. A little lime zest in the cake batter or buttercream would add a lovely zing. You could also fold in some finely chopped pineapple or mango for a truly tropical twist, though this might make the cake a little heavier.