Mary Berry Recipes
Classic Light and Fluffy Scones
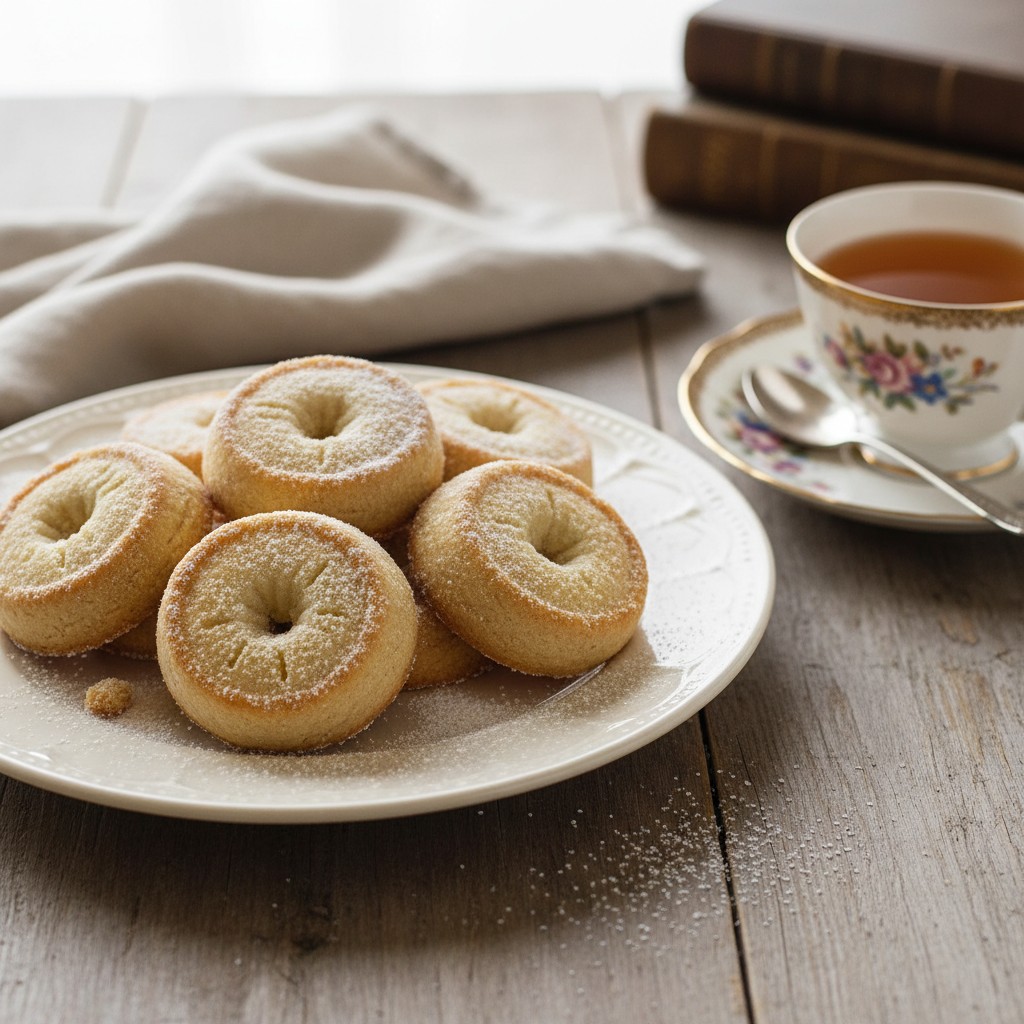
There's nothing quite like a freshly baked scone, warm from the oven, ready for a dollop of jam and cream. This recipe promises truly light and fluffy results every single time, a real joy for any afternoon tea.

Why You'll Love This Recipe
- Uses a classic, foolproof method for consistently light and airy results.
- Employs simple, readily available ingredients, making it accessible for all home bakers.
- The gentle handling technique ensures a tender crumb, avoiding any toughness.
Ingredients
- 450g self-raising flour, plus extra for dusting
- 1 tsp baking powder (if using plain flour)
- 100g cold butter, cut into cubes
- 50g caster sugar
- 2 large eggs, beaten
- 175ml milk, plus extra for glazing
- Pinch of salt
Equipment Needed
Large mixing bowl • Baking tray • 6cm (2.5 inch) round fluted or plain cutter • Pastry brush • Wire rack
Step-by-Step Instructions
- Preheat your oven to 220°C (200°C fan/Gas Mark 7). Lightly grease a baking tray or line with baking parchment.
- Sift the flour (and baking powder if using plain flour) into a large mixing bowl. Add the salt and caster sugar, and mix briefly to combine.
- Add the cold, cubed butter to the flour. Using your fingertips, rub the butter into the flour until the mixture resembles fine breadcrumbs. This step is crucial for lightness, so work quickly to keep the butter cold.
- In a separate jug, whisk together the beaten eggs and milk. Make a well in the centre of the flour mixture and pour in most of the liquid, reserving a little for glazing.
- Using a round-bladed knife or your hand, mix the ingredients together to form a soft, sticky dough. Be careful not to overwork it; just bring it together.
- Turn the dough out onto a lightly floured surface. Gently knead it a few times until it just comes together smoothly – no more than 30 seconds.
- Pat or gently roll the dough out to an even thickness of about 2.5cm (1 inch).
- Take a 6cm (2.5 inch) round cutter and dip it in flour. Cut out as many scones as you can, pressing straight down without twisting the cutter, as twisting can inhibit the rise.
- Carefully place the scones onto your prepared baking tray, leaving a little space between them. Gather the dough scraps, gently re-roll, and cut out more scones until all the dough is used.
- Brush the tops of the scones with the reserved milk or a little extra beaten egg. This will give them a lovely golden finish.
- Bake for 12-15 minutes, or until well risen and golden brown on top.
- Transfer the baked scones to a wire rack to cool slightly. Serve warm, split open, with plenty of clotted cream and strawberry jam. Simply divine!
How to Store \u0026 Reheat
Scones are best enjoyed fresh and warm from the oven on the day they are made. If you have any left over, store them in an airtight container at room temperature for up to 2 days. To refresh them, simply warm them in a preheated oven at 160°C (140°C fan/Gas Mark 3) for 5-7 minutes, or until heated through. They also freeze beautifully for up to 3 months; simply thaw at room temperature and then warm as above.
Mary's Secrets to Success
My dear, the secret to truly magnificent scones lies in a few simple practices: always use very cold butter, straight from the fridge, and work it into the flour quickly with cool hands. Secondly, handle the dough as little and as gently as possible; overworking is the enemy of a light scone. When cutting, press your cutter straight down and lift – never twist, as this seals the edges and prevents a good rise. And finally, don't be afraid to be generous with the thickness of your dough; a good 2.5cm is perfect for tall, proud scones. Follow these little tips, and you'll achieve sheer perfection every time!
Frequently Asked Questions
Can I freeze these scones?
Yes, indeed! These scones freeze wonderfully. Once they've cooled completely, pop them into an airtight freezer bag or container. They'll keep for up to 3 months. To enjoy, simply thaw them at room temperature and then warm them gently in the oven for a few minutes to bring back that lovely fresh-baked taste and texture.
My scones often turn out tough. What am I doing wrong?
Ah, a common query, my dear! The most frequent culprit for tough scones is overworking the dough. You want to handle it as little as possible. Just bring the ingredients together until they form a soft, cohesive dough – no more. Overworking develops the gluten too much, which leads to a chewy rather than light and fluffy scone.
How do I ensure my scones rise well and aren't flat?
There are a few little tricks for a good rise! Firstly, use cold butter; it creates steam pockets as it melts, which helps the scone lift. Secondly, don't twist your cutter when you're cutting out the shapes – press straight down and lift. Twisting seals the edges, preventing that beautiful upward rise. Finally, ensure your dough is rolled to a good 2.5cm (1 inch) thickness.
Can I add dried fruit, like sultanas, to this recipe?
Absolutely! If you fancy fruit scones, gently fold in about 100g of sultanas or currants with the flour and sugar before adding the butter. Don't add too much, as it can weigh down the dough. It's a lovely variation for those who enjoy a little sweetness and chew in their scone.
What's the difference between using milk and egg for glazing?
Both are perfectly fine, but they give slightly different results. Brushing with milk will give your scones a lovely, soft golden finish. However, brushing with a little beaten egg or an egg wash (egg mixed with a splash of milk) will give them a deeper, shinier golden-brown crust. It's really down to personal preference!