Mary Berry Recipes
Classic Homemade Blackcurrant Jam
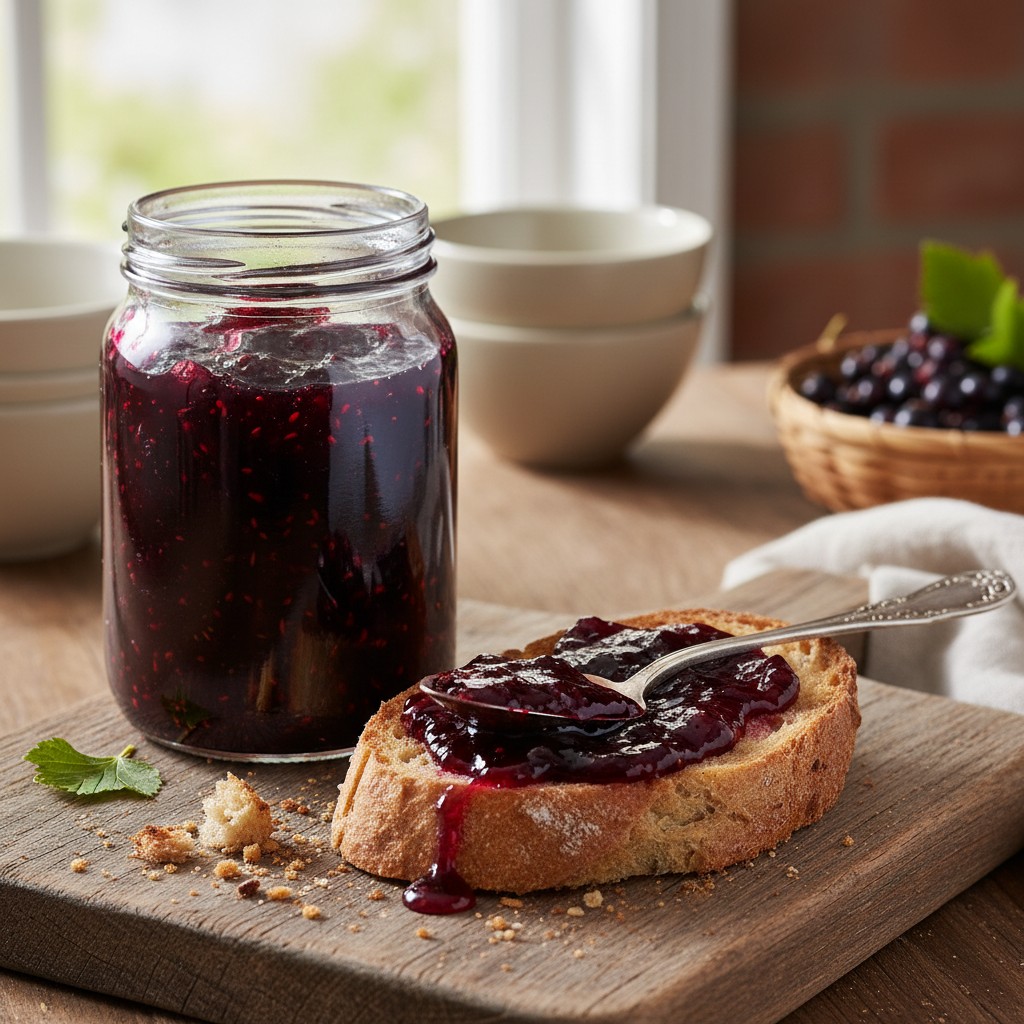
There's nothing quite like the vibrant taste of homemade blackcurrant jam, bursting with summer's bounty. This wonderfully simple recipe guarantees a perfect set and a truly delightful preserve.
Why You'll Love This Recipe
- Blackcurrants are naturally high in pectin, making it easier to achieve a perfect set without added gelling agents.
- The recipe uses a classic sugar-to-fruit ratio, ensuring superb flavour balance and excellent keeping qualities.
- Clear, concise steps guide you through the sterilisation and setting process, making it wonderfully straightforward for all skill levels.
Ingredients
- 1 kg fresh blackcurrants (or frozen, defrosted)
- 1 kg granulated sugar
- 600 ml water
Equipment Needed
Large, heavy-based saucepan or preserving pan • Wooden spoon or heatproof spatula • Slotted spoon • Heatproof ladle • Sterilised jam jars with lids (approx. 4 x 450g) • Small saucers (chilled in the fridge/freezer) for testing the set
Step-by-Step Instructions
- First, and most importantly, you must prepare your jars. Wash your jam jars and lids thoroughly in hot, soapy water, rinse them well, and then place them on a baking tray in a cold oven. Heat the oven to 130°C (110°C fan/Gas 1) and leave them for at least 15-20 minutes to sterilise. Do not remove them until you are ready to fill them.
- If using fresh blackcurrants, gently wash them and remove any stalks. There's no need to top and tail them, which is a blessing!
- Place the prepared blackcurrants and the water into a large, heavy-based saucepan or preserving pan. Bring to a gentle boil, then reduce the heat and simmer for about 15-20 minutes, or until the fruit is very soft and tender, and has burst open. This helps to extract all that lovely pectin.
- Add the granulated sugar to the pan, stirring gently over a low heat until the sugar has completely dissolved. It's crucial not to let it boil until all the sugar crystals have disappeared, otherwise, your jam may 'sugar'.
- Once the sugar has dissolved, increase the heat and bring the mixture to a rolling boil. This is a rapid, bubbling boil that you cannot stir down. Boil vigorously for 5-10 minutes, stirring occasionally to prevent sticking.
- Now for the setting point test! Remove the pan from the heat. Place a teaspoonful of jam onto a cold saucer that you've chilled in the fridge or freezer. Allow it to cool for a minute or two, then push your finger through it. If the surface wrinkles, your jam has reached its setting point. If not, return the pan to the heat and boil for another 2-3 minutes before testing again. Repeat until you achieve a good set.
- Once set, carefully skim off any foam or scum from the surface of the jam using a slotted spoon. This ensures your jam is beautifully clear and sparkling.
- Carefully ladle the hot jam into your sterilised, warm jars, filling them right up to the brim. Place the lids on immediately and tighten them firmly.
- Allow the jars to cool completely at room temperature. As they cool, you'll hear a satisfying 'pop' as the vacuum seal forms, indicating a good seal. Label your jars with the date, and store them in a cool, dark place.
- And there you have it – your own homemade blackcurrant jam, ready to be enjoyed! Pure sheer perfection.
How to Store \u0026 Reheat
Once sealed and cooled, your homemade blackcurrant jam will keep for at least 12-18 months in a cool, dark pantry. Once opened, store the jar in the refrigerator and consume within 4-6 weeks. There's no need to reheat jam, simply enjoy it straight from the jar!
Mary's Secrets to Success
My top tip for any jam making is patience and precision. Firstly, ensure your jars are impeccably clean and sterilised – this really is half the battle! Secondly, don't rush the sugar dissolving stage; it's vital for a smooth, crystal-free jam. And finally, when it comes to testing for the set, trust your instincts and the wrinkle test on a cold saucer. It’s a classic method for a reason. Remember, good quality fruit is the foundation of any truly wonderful preserve. Enjoy every moment of this delightful process!
Frequently Asked Questions
How do I know when my jam has reached setting point?
The most reliable method is the 'wrinkle test.' Place a small amount of hot jam onto a cold saucer, allow it to cool for a minute, then push your finger through it. If the surface wrinkles, it's ready. If not, continue boiling for a few more minutes and test again. You can also use a jam thermometer; it should reach 104.5°C (220°F).
My jam didn't set. What can I do?
Don't despair! This can happen. You can re-boil the jam for a longer period, testing for the set repeatedly. If it still won't set, you can try adding a sachet of commercial pectin or the juice of one lemon (blackcurrants are high in pectin, so this is less likely to be needed, but can help). Alternatively, embrace it as a delicious blackcurrant sauce for ice cream or pancakes!
Can I use frozen blackcurrants for this recipe?
Absolutely, frozen blackcurrants work wonderfully. There's no need to thaw them fully before cooking; you can add them directly to the pan with the water, just allow a little extra time for them to soften and break down.
Why is it important to sterilise the jars?
Sterilising your jars is absolutely crucial for food safety and to ensure your jam keeps well. It kills any bacteria, yeasts, or moulds that could cause your jam to spoil. Properly sterilised jars and a good seal mean your jam will last for many months.
How do I prevent the jam from 'sugaring'?
Sugaring, or crystallisation, occurs when sugar crystals form in the jam. The key to preventing this is to ensure all the sugar is completely dissolved before you bring the jam to a rolling boil. Stir gently over a low heat until you can no longer feel any gritty sugar crystals on the bottom of the pan with your spoon.
Useful Baking Tools
Wrong tin size, a fan oven, or ingredients in cups or ounces? Convert everything first with our free tools: