Mary Berry Recipes
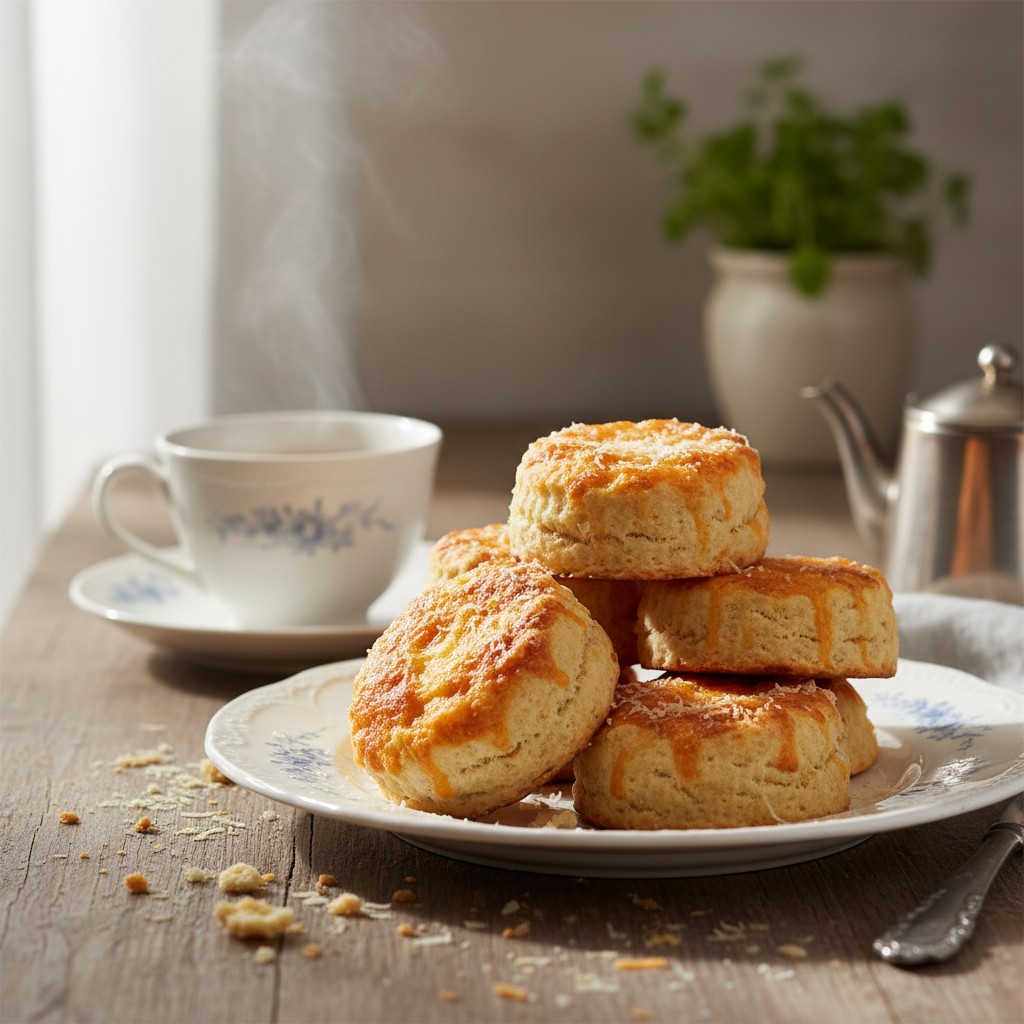
Classic Savoury Cheese Scones
There's nothing quite like the comforting aroma of freshly baked cheese scones wafting from the kitchen, is there? This recipe promises light, fluffy, and utterly delicious results every single time.
Why You'll Love This Recipe
- This recipe uses the 'rubbing-in' method, which ensures the butter is evenly distributed, leading to wonderfully tender and flaky scones.
- The high heat baking technique gives a superb rise and a beautifully golden-brown crust, while keeping the inside light and airy.
- It's incredibly versatile – perfect for using up leftover cheese and can be adapted with other additions for varying flavours.
Ingredients
- 225g (8oz) self-raising flour, plus extra for dusting
- Pinch of salt
- Pinch of cayenne pepper (optional, but adds a lovely warmth)
- 50g (2oz) cold butter, cut into small cubes
- 100g (4oz) mature cheddar cheese, grated
- 150ml (5fl oz) milk, plus a little extra for glazing
Equipment Needed
Large mixing bowl • Sieve • Round-bladed knife • 5cm (2-inch) round cutter (fluted or plain) • Baking tray • Wire rack • Pastry brush (optional)
Step-by-Step Instructions
- Preheat your oven to a rather hot 220°C (200°C Fan / Gas Mark 7). Lightly grease a baking tray or line it with baking parchment. This high heat is key for a good rise!
- In a large mixing bowl, sift together the self-raising flour, salt, and the optional cayenne pepper. Sifting helps to aerate the flour, which contributes to a lighter scone.
- Add the cold, cubed butter to the flour mixture. Using your fingertips, gently rub the butter into the flour until the mixture resembles fine breadcrumbs. It's important to work quickly and lightly here to prevent the butter from melting.
- Stir in three-quarters of the grated cheddar cheese, reserving the rest for sprinkling on top. Make sure it's evenly distributed throughout the 'breadcrumbs'.
- Make a well in the centre of the mixture and gradually add most of the milk, mixing with a round-bladed knife until a soft, slightly sticky dough forms. You might not need all the milk, or you might need a tiny splash more – it depends on your flour.
- Turn the dough out onto a lightly floured surface. Gently bring the dough together with your hands, pressing it into a round about 2cm (¾ inch) thick. Avoid overworking the dough, as this can make your scones tough.
- Using a 5cm (2-inch) fluted or plain round cutter, dip the cutter into flour before each cut to prevent sticking. Press straight down firmly – do not twist the cutter, as twisting seals the edges and can inhibit the rise.
- Place the cut scones onto your prepared baking tray. Gently gather the leftover dough, press it together, and cut out more scones until all the dough is used. Try to handle the dough as little as possible.
- Brush the tops of the scones with a little extra milk (or an egg wash for an even glossier finish) and sprinkle with the remaining grated cheese.
- Bake in the preheated oven for 12-15 minutes, or until beautifully risen and golden brown on top. They should sound hollow when tapped on the bottom.
- Transfer the baked scones to a wire rack to cool slightly. Serve warm, perhaps with a knob of butter or alongside a hearty soup. Absolutely delicious!
- For sheer perfection, enjoy them as fresh as possible, ideally within an hour or two of baking.
How to Store \u0026 Reheat
To keep your cheese scones at their best, store them in an airtight container at room temperature for up to 2-3 days. For that 'just baked' freshness, you can warm them gently in a moderate oven (160°C/140°C Fan/Gas Mark 3) for about 5-7 minutes, or briefly in a microwave for 15-20 seconds. They also freeze beautifully! Once completely cool, place them in a freezer-safe bag or container for up to 3 months. Thaw at room temperature and then warm as above.
Mary's Secrets to Success
My dears, for truly perfect cheese scones, remember these little secrets: 1. **Keep it Cold:** Ensure your butter is straight from the fridge and your hands are cool. This prevents the butter from melting too soon, creating those lovely pockets of steam that give a light texture. 2. **A Light Touch:** I cannot stress this enough – handle the dough as little and as gently as possible. Overworking the dough is the enemy of a tender scone. 3. **No Twisting:** When cutting your scones, push the cutter straight down and pull it straight up. Twisting seals the edges, which can prevent them from rising tall and proud. 4. **Hot Oven:** A very hot oven is crucial. It gives the scones a fantastic 'oven spring', helping them to rise quickly and achieve that wonderful light texture and golden crust. 5. **Serve Warm:** For the ultimate indulgence, serve these scones warm from the oven. They are a real family favorite and a true delight!
Frequently Asked Questions
Why are my scones hard or tough?
Ah, this is a common query! The most likely culprit is overworking the dough. When you knead or handle the dough too much, you develop the gluten in the flour, which leads to a tough texture. Be gentle and work quickly when bringing the dough together and cutting the scones. A light touch is key for a tender scone.
How do I get a good rise on my scones?
Several things contribute to a beautiful rise. Firstly, use good quality, fresh self-raising flour. Secondly, ensure your butter is very cold, and you rub it in quickly. Thirdly, a hot oven (as specified in the recipe) helps the scone rise rapidly before the crust sets. And crucially, do not twist your cutter when shaping the scones, press straight down firmly.
Can I use different types of cheese?
Absolutely! While a good mature cheddar is my go-to, feel free to experiment. Gruyère offers a lovely nutty flavour, while a sharp Red Leicester adds a vibrant colour. A mix of cheeses can also be delightful. Just ensure the cheese is firm enough to grate well.
Can I prepare the dough ahead of time?
You can prepare the dry ingredients and rub in the butter a day in advance, storing it in the fridge. However, once the milk is added, it's best to bake the scones immediately. If you leave the wet dough to sit, the raising agents can lose some of their potency, and your scones might not rise as well.
What's the best way to ensure even baking?
To ensure even baking and a consistent golden colour, try to make your scones all the same thickness and size. Also, place them on the baking tray with a little space between them for air circulation, but not too much, as they like to 'huddle' a bit to help each other rise. If your oven has hot spots, you might rotate the tray halfway through baking.