Mary Berry Recipes
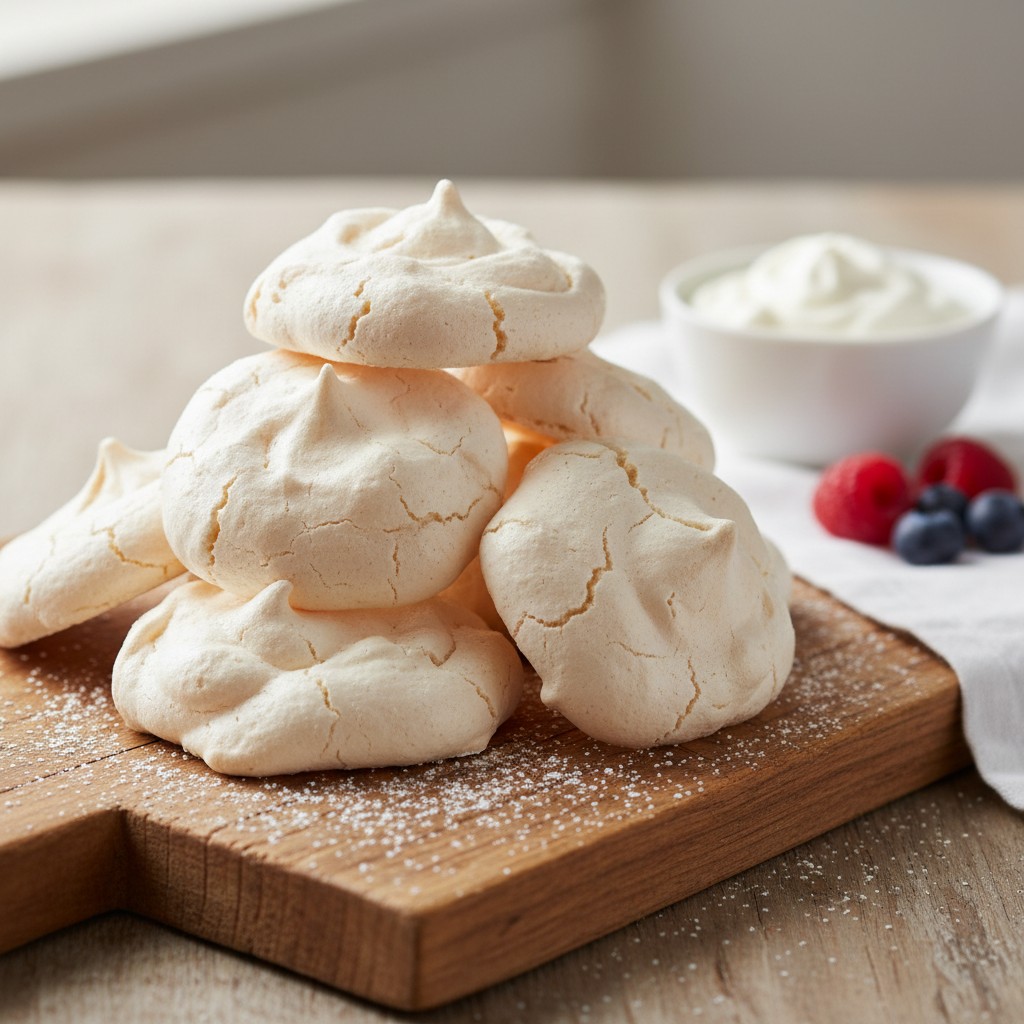
Perfect Cloud Meringues
Delight in the sheer simplicity and elegance of perfectly baked meringues. This recipe promises a crisp exterior and a beautifully chewy centre, making them an absolute joy.
Why You'll Love This Recipe
- Uses a classic, reliable ratio for consistent results, ensuring perfect texture.
- Emphasises proper whisking technique for stable, voluminous peaks that hold their shape beautifully.
- Slow baking at a low temperature ensures crispness without browning too quickly, creating that signature pale finish.
Ingredients
- 4 large egg whites (at room temperature)
- 225g caster sugar
- 1 teaspoon cornflour (corn starch)
- 1 teaspoon white wine vinegar or lemon juice
Equipment Needed
Large mixing bowl • Electric whisk or stand mixer with whisk attachment • Rubber spatula • 2 large baking trays • Baking parchment
Step-by-Step Instructions
- Preheat your oven to a very low 110°C (90°C fan/225°F/Gas Mark ¼). Line two large baking trays with baking parchment.
- Ensure your mixing bowl and whisk are absolutely spotless and free from any grease. This is crucial for successful meringues, my dears! Wipe them with a little lemon juice on kitchen paper if you're concerned.
- Carefully separate the egg whites from the yolks, making sure not even a speck of yolk gets into the whites. Place the egg whites into your clean mixing bowl.
- Whisk the egg whites with an electric mixer on medium speed until they form soft peaks. They should be frothy and hold their shape slightly when you lift the whisk.
- Now, gradually add the caster sugar, one tablespoon at a time, continuing to whisk on high speed. It's important to add the sugar slowly to allow it to dissolve properly into the egg whites.
- Continue whisking until the mixture is very thick, glossy, and holds stiff peaks. When you rub a little between your fingers, it should feel smooth, with no grittiness from the sugar. This can take 5-10 minutes.
- Gently fold in the cornflour and white wine vinegar (or lemon juice). The cornflour helps to give the meringue a slightly chewy centre, and the acid helps to stabilise the egg whites.
- Spoon the meringue mixture onto the prepared baking trays using a large spoon, forming neat mounds. You can also pipe them for a more decorative finish, if you wish. Ensure there's a little space between each meringue.
- Place the trays into the preheated oven and bake for 1 hour 30 minutes to 2 hours, or until the meringues are crisp to the touch and lift easily from the parchment. They should be very pale in colour.
- Once baked, turn off the oven and leave the meringues inside with the door ajar to cool completely. This slow cooling helps prevent them from cracking and ensures they dry out properly.
- Once completely cool, they are ready to serve or store.
How to Store \u0026 Reheat
Once completely cool, store your meringues in an airtight container at room temperature for up to 2 weeks. Be sure they are fully cooled and dry before storing, as any moisture will make them sticky. Do not store them in the refrigerator, as this can make them soft and chewy. Meringues do not typically need reheating; they are best enjoyed at room temperature. If they've softened slightly, a very brief time (10-15 minutes) in a very low oven (around 100°C/200°F) can sometimes help crisp them up again, but be cautious not to brown them.
Mary's Secrets to Success
The secret to truly glorious meringues, my dears, is absolute cleanliness and patience. Ensure your bowl and whisk are impeccably clean and free of any grease – even a tiny speck can prevent your egg whites from whipping properly. Secondly, don't rush the sugar incorporation; add it gradually and whisk until every crystal has dissolved, giving you that wonderfully glossy, stiff mixture. And finally, the baking and cooling process is just as important as the whisking; a low, slow bake followed by gentle cooling will give you those perfectly crisp, ethereal clouds. Sheer perfection!
Frequently Asked Questions
Why are my meringues sticky or chewy all over, not crisp?
Ah, this often means they haven't been baked long enough or at a low enough temperature. Meringues need a long, slow bake to dry out completely. Ensure your oven temperature is accurate and give them plenty of time to dry in the turned-off oven. Patience, my dears, is key here!
My meringues cracked during baking. What went wrong?
Cracking can occur if the oven temperature is too high, causing the outside to set too quickly while the inside is still expanding. It can also happen if they're cooled too rapidly. Always ensure a very low oven and let them cool slowly inside the oven with the door ajar. This gentle cooling prevents sudden temperature changes.
Can I use egg whites from a carton?
While fresh egg whites are always best for meringues, carton egg whites can work. However, they may not whip up quite as voluminous or stable, as they are often pasteurised. Ensure they are at room temperature for the best chance of success, but do manage your expectations slightly.
How do I know when the sugar is fully dissolved?
The best way is to take a tiny bit of the meringue mixture between your thumb and forefinger and rub them together. If it feels completely smooth, without any grittiness, then the sugar has dissolved. This is a crucial step for glossy, stable meringues that won't weep.
Can I flavour my meringues?
Absolutely! Once the sugar is fully incorporated and you have stiff, glossy peaks, you can gently fold in a few drops of vanilla extract or other flavourings like almond extract. For chocolate meringues, fold in a tablespoon of sifted cocoa powder at the very end. Be careful not to overmix!