Mary Berry Recipes
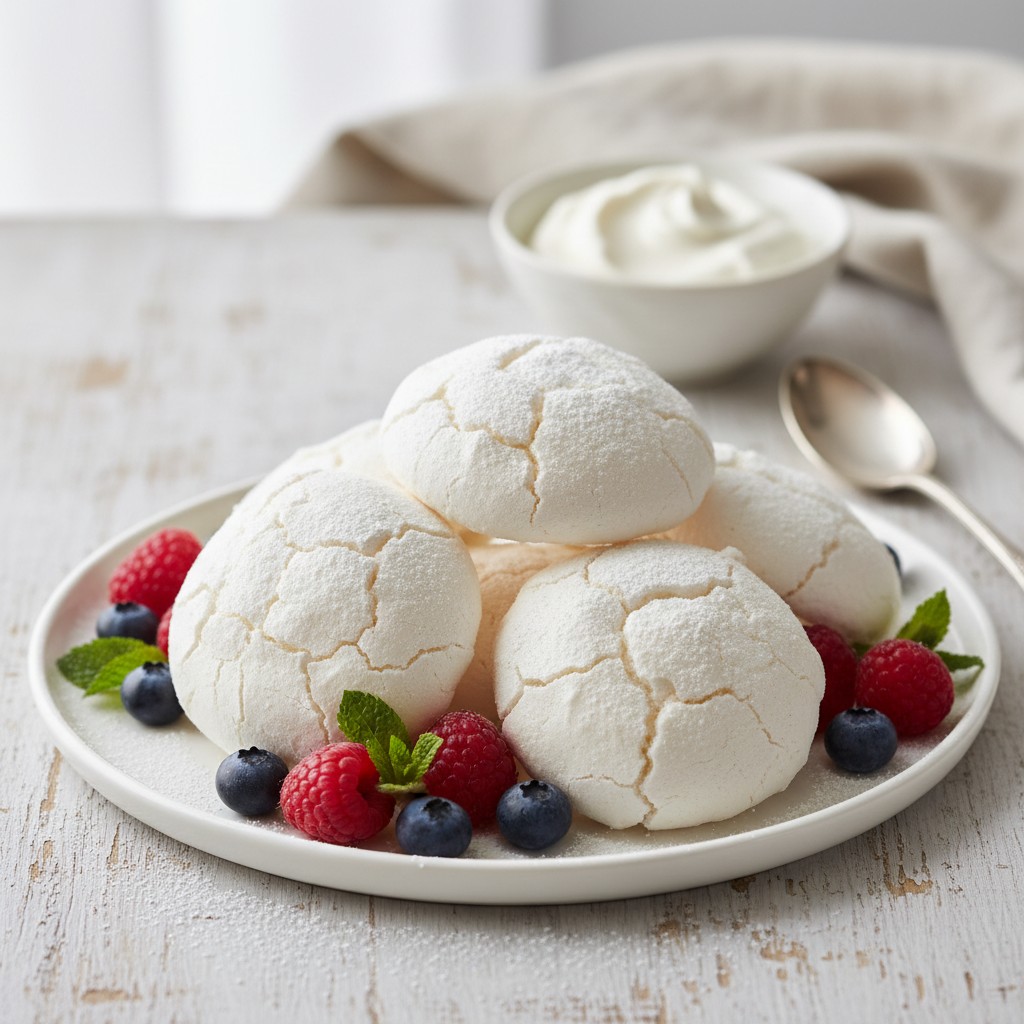
Mary Berry's Classic Meringues
Ah, meringues! These ethereal, crisp clouds of sweetness are wonderfully simple to make and look utterly impressive. My classic recipe guarantees light, delicate treats every single time.
Why You'll Love This Recipe
- This classic recipe uses a tried-and-tested method for perfectly stable, glossy meringue every time.
- The addition of cornflour and white wine vinegar helps create a wonderfully crisp shell with a slightly chewy interior, preventing a 'soggy bottom'.
- It’s incredibly versatile; these meringues can be enjoyed on their own, or as the base for more elaborate desserts like Pavlova or Eton Mess.
Ingredients
- 4 large egg whites (at room temperature)
- 225g (8oz) caster sugar
- 1 teaspoon cornflour (corn starch)
- 1 teaspoon white wine vinegar
Equipment Needed
Large mixing bowl (preferably stand mixer or electric hand whisk) • Electric whisk or stand mixer with whisk attachment • 2 large baking trays • Baking parchment • Large metal spoon • Piping bag and nozzle (optional, for shaping)
Step-by-Step Instructions
- Preheat your oven to a very low 120°C (100°C fan/250°F/Gas ½). Line two large baking trays with baking parchment. You can draw circles on the back of the parchment if you wish to guide your piping.
- Ensure your mixing bowl and whisk attachments are scrupulously clean and grease-free. Any trace of fat will prevent your egg whites from whisking properly. Separate your eggs carefully, ensuring no yolk gets into the whites.
- Place the egg whites into the clean bowl of your electric mixer. Begin whisking on a medium speed until they form soft peaks. They should be frothy and hold their shape but still be quite soft.
- Now, gradually add the caster sugar, a tablespoon at a time, continuing to whisk on a high speed. This process should take about 5-7 minutes. Be patient, my dears, as rushing this step can lead to gritty meringues.
- Continue whisking until the meringue is very thick, glossy, and holds stiff peaks. When you lift the whisk, the meringue should stand up firmly. You should also be able to rub a little meringue between your fingers and feel no sugar crystals.
- Gently fold in the cornflour and white wine vinegar using a large metal spoon. Be careful not to knock out too much air. This combination helps to stabilise the meringue and gives that lovely crisp exterior with a slightly softer centre.
- Spoon or pipe the meringue onto your prepared baking trays. For individual meringues, use two dessert spoons to create quenelles, or pipe swirls using a large star nozzle. If making a Pavlova base, spread the meringue into a large circle, making a slight dip in the centre.
- Place the trays into the preheated oven. Bake for 1 hour 30 minutes, or until the meringues are crisp to the touch and lift easily from the parchment. They should be dry, not sticky.
- Once baked, turn off the oven and leave the meringues inside with the door slightly ajar (you can wedge it with a wooden spoon) until completely cool. This slow cooling prevents cracking and ensures they dry out beautifully.
- Once completely cool, your perfectly crisp meringues are ready to be served or stored for later. Sheer perfection!
How to Store \u0026 Reheat
To keep your meringues beautifully crisp, store them in an airtight container at room temperature for up to two weeks. Ensure they are completely cool before storing, as any warmth will create condensation and make them soft. They do not require refrigeration and should not be reheated.
Mary's Secrets to Success
Now, for my little secrets to success! Firstly, ensure your mixing bowl and whisk are absolutely spotless and grease-free – this is paramount for achieving those wonderfully stiff peaks. Secondly, use room temperature egg whites; they whisk up much better than cold ones. And finally, don't rush the baking and cooling process. Low and slow is the key to perfectly crisp, dry meringues that will simply melt in the mouth. Patience truly is a virtue in baking, my dears!
Frequently Asked Questions
Why did my meringues crack?
Cracking often occurs if the oven temperature is too high, causing the meringue to expand too quickly, or if there's a sudden change in temperature during cooling. Ensure your oven is at the correct low temperature and always let them cool slowly inside the oven with the door ajar.
How do I prevent my meringues from being sticky or chewy?
A sticky or chewy meringue usually means it hasn't been baked for long enough, or the sugar wasn't fully dissolved. Ensure you whisk the sugar in gradually until the mixture is very stiff and glossy, and bake for the full recommended time, allowing them to dry out completely in the cooling oven.
Can I make these meringues ahead of time?
Absolutely, my dear! Meringues are perfect for making ahead. Once completely cool, store them in an airtight container at room temperature for up to two weeks. This makes them ideal for entertaining, as you can prepare them well in advance.
What if my egg whites aren't whisking properly?
The most common culprit here is a trace of fat or grease in your mixing bowl or on your whisk. Even a tiny speck of egg yolk can prevent the whites from stiffening. Always ensure your equipment is scrupulously clean and dry before you begin.
Can I freeze meringues?
Yes, you can freeze baked meringues! Once completely cool and dry, place them in an airtight container, separating layers with baking parchment. They can be frozen for up to one month. Thaw them at room temperature in the container to prevent condensation.