Mary Berry Recipes
Classic Spiced Plum Chutney
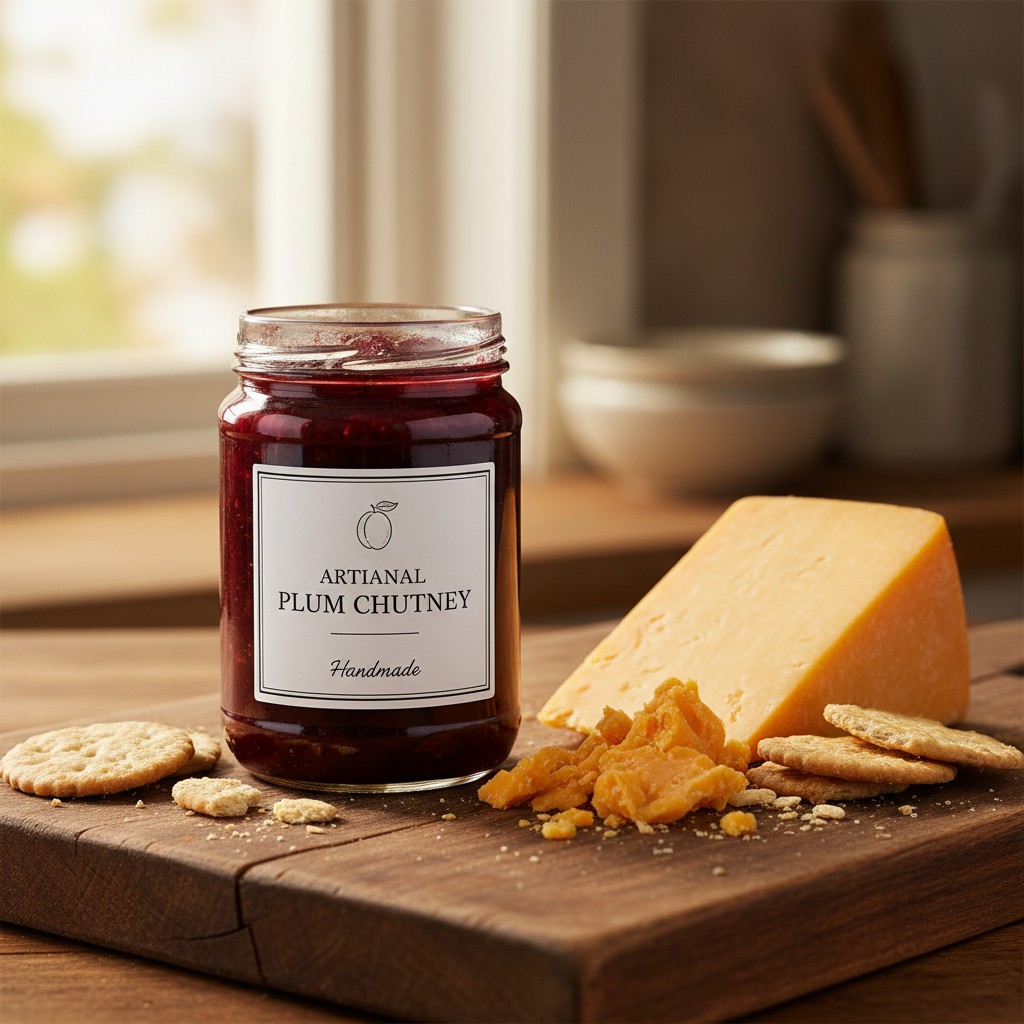
A truly delightful accompaniment for any cheeseboard or cold cut, this spiced plum chutney is wonderfully versatile. It's a recipe that brings warmth and flavour to so many dishes, a real gem from the preserve cupboard.
Why You'll Love This Recipe
- It makes wonderful use of seasonal, abundant plums, preventing any waste.
- The chutney is incredibly versatile, enhancing everything from a simple sandwich to a gourmet cheeseboard.
- It’s a delightful homemade gift, showing care and culinary prowess to friends and family.
Ingredients
- 1.5 kg ripe plums, halved and stoned
- 500g cooking apples, peeled, cored, and chopped
- 500g red onions, finely chopped
- 250g sultanas or raisins
- 500g light brown sugar
- 750ml malt vinegar (or cider vinegar)
- 2 tbsp fresh ginger, grated
- 2 tsp ground mixed spice
- 1 tsp ground cinnamon
- 1/2 tsp dried chilli flakes (optional, for a little kick)
- 1 tbsp salt
Equipment Needed
Large, heavy-bottomed preserving pan (at least 6-litre capacity) • Sterilised jars with airtight lids (approx. 4-5 medium jars) • Ladle • Chopping board • Sharp knife • Measuring jug • Weighing scales • Long-handled wooden spoon

Step-by-Step Instructions
- **1. Prepare Your Fruit and Vegetables:** My dears, begin by carefully halving and stoning your ripe plums. There's no need to peel them, as the skins add a lovely colour and texture. Next, peel, core, and chop your cooking apples into small, even pieces. Finally, finely chop the red onions. Precision here makes all the difference for a consistent texture.
- **2. Combine Ingredients in the Pan:** Now, into a very large, heavy-bottomed preserving pan, place your prepared plums, apples, and onions. Add the sultanas (or raisins, if you prefer), the light brown sugar, and pour in the malt vinegar. Stir in the grated fresh ginger, ground mixed spice, ground cinnamon, optional dried chilli flakes, and the salt. Give everything a good stir to combine; you want all those lovely flavours to meld together.
- **3. Bring to a Gentle Boil:** Place the pan over a medium heat and bring the mixture slowly to a boil, stirring occasionally to ensure the sugar dissolves completely and nothing sticks to the bottom. This initial gentle heat is crucial to prevent burning.
- **4. Simmer and Reduce:** Once bubbling, reduce the heat to a gentle simmer. Now, this is where a little patience comes in, my dears. Let it simmer, uncovered, for about 1 hour 30 minutes to 2 hours. You'll need to stir quite frequently, especially towards the end, to prevent it from catching. The chutney is ready when it has thickened considerably, and you can draw a spoon across the bottom of the pan and the mixture doesn't immediately run back to fill the gap. It should be a rich, glossy consistency.
- **5. Sterilise Your Jars:** While the chutney is simmering, it's the perfect time to sterilise your jars. Wash them thoroughly in hot, soapy water, rinse well, and then place them upside down on a baking tray in a cool oven (around 120°C/100°C fan/Gas Mark 1/2) for at least 15-20 minutes. Ensure the lids are also clean and ready.
- **6. Ladle into Jars:** Once your chutney has reached that beautiful, thick consistency, carefully ladle it into your hot, sterilised jars right to the brim. Be ever so careful, as both the chutney and jars will be hot.
- **7. Seal and Cool:** Immediately secure the lids tightly. As the chutney cools, the lids will often 'pop' as a vacuum seal forms, which is precisely what we want for good preservation. Allow the jars to cool completely before labelling them. Store them in a cool, dark place. For the very best flavour, I always recommend letting your chutney mature for at least 2-3 weeks before opening; this allows all those wonderful spices to deepen and develop.
How to Store \u0026 Reheat
For optimal flavour and longevity, store your sealed jars of chutney in a cool, dark place, such as a pantry or cupboard. Unopened, it will keep beautifully for 1-2 years. Once a jar has been opened, do pop it into the refrigerator and aim to consume it within 6-8 weeks to enjoy its freshest taste. Chutney is typically served at room temperature and doesn't require reheating.
Mary's Secrets to Success
My dears, for sheer perfection with your plum chutney, do remember these little secrets: Firstly, don't rush the simmering; a slow, steady reduction is vital for that lovely, thick consistency. Secondly, stir, stir, stir, especially towards the end, to prevent any sticking or burning – a wooden spoon is your best friend here! Thirdly, always, always use properly sterilised jars to ensure your chutney keeps beautifully. And finally, for the most exquisite flavour, allow your chutney to mature in the jar for at least a few weeks before you delve in. It truly makes all the difference!
Frequently Asked Questions
How do I know when my chutney is ready?
The easiest way to tell, my dears, is to draw a wooden spoon across the bottom of the pan. If the chutney is ready, it should leave a clear channel for a few seconds before the mixture slowly runs back. It will also look thick and glossy, not watery.
What's the best way to sterilise my jars?
There are a few reliable methods! You can wash them in hot soapy water, rinse well, then place them upside down on a baking tray in a cool oven (120°C/100°C fan/Gas Mark 1/2) for 15-20 minutes. Alternatively, a hot cycle in your dishwasher can also do the trick, providing they are completely dry.
Can I use other fruits in this chutney recipe?
Absolutely! While plums are wonderful, this recipe is quite forgiving. You could certainly experiment with other firm, seasonal fruits such as apples, pears, or even a mix of berries. Just ensure they are ripe and prepared similarly.
Why is my chutney too runny or too thick?
If it's too runny, it simply needs more simmering time. Patience is key! If it's too thick, you might have simmered it for too long or perhaps used less liquid. A tiny splash of boiled water could be stirred in if it's overly thick, but generally, a longer, slower simmer is the answer to a perfect consistency.
How long should I let the chutney mature before eating?
For the very best flavour, I always recommend allowing your chutney to mature for at least 2-3 weeks after bottling. This resting period allows all those wonderful spices and fruit flavours to meld and deepen, resulting in a much richer, more complex taste. It truly is worth the wait!