Mary Berry Recipes
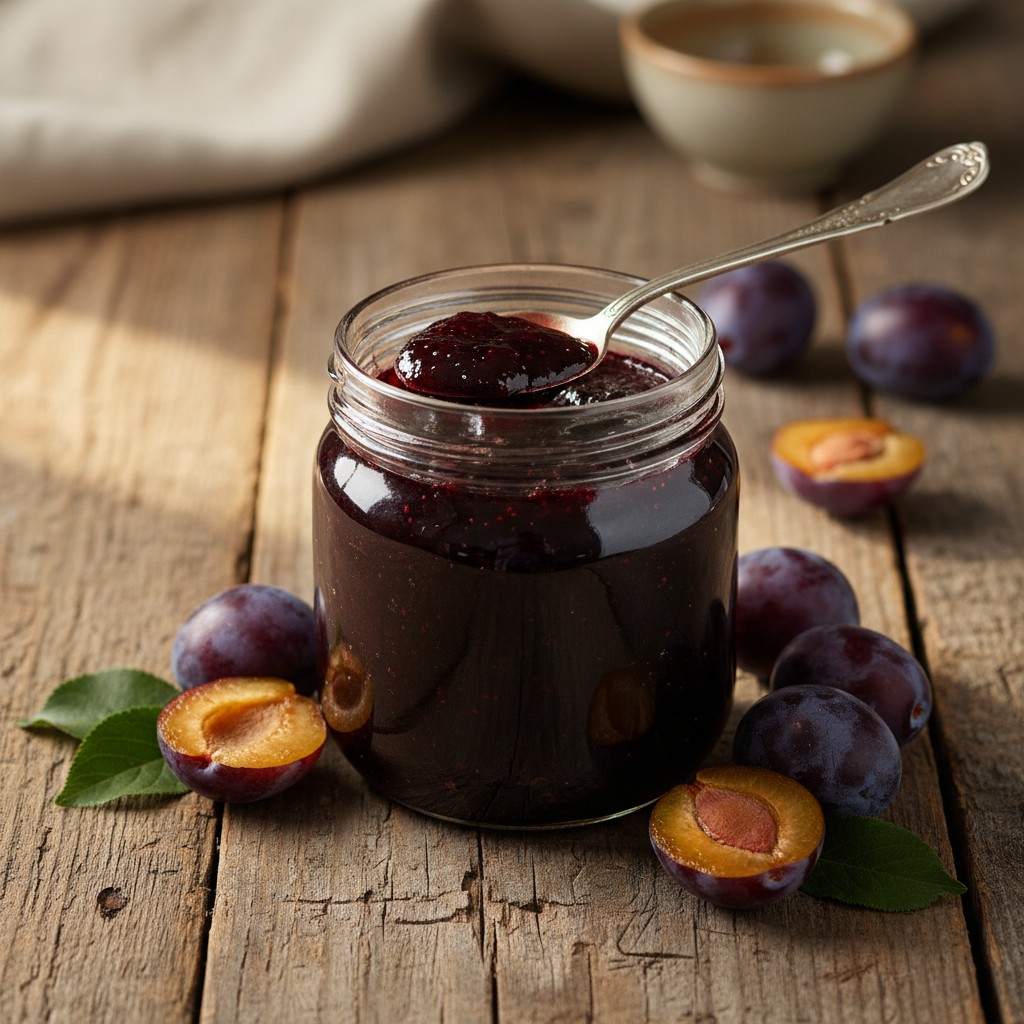
Glorious Homemade Damson Jam
There's nothing quite like the taste of homemade jam, and this damson delight is no exception. Bursting with seasonal flavour, it's wonderfully simple to make and utterly delicious.
Why You'll Love This Recipe
- Damsons are naturally high in pectin, ensuring a good set without the need for added pectin.
- The simple, precise steps guide you to a perfectly balanced flavour – tart, sweet, and deeply fruity.
- A wonderful way to preserve the bounty of autumn, providing a taste of the season all year round.
Ingredients
- 1.5 kg (3 lb) damsons
- 600 ml (1 pint) water
- 1.5 kg (3 lb) granulated sugar
- Small knob of butter (optional, to reduce scum)
Equipment Needed
Large, heavy-bottomed preserving pan • Sterilised jam jars with lids (approx. 6-8 medium sized) • Jam funnel (very helpful for filling jars neatly) • Ladle • Heatproof gloves or oven mitts • Several small saucers (chilled in the freezer for testing the set) • Slotted spoon (for removing stones and scum) • Potato masher or wooden spoon
Step-by-Step Instructions
- Begin by preparing your damsons. Wash them thoroughly and then carefully remove the stones. This can be a little fiddly, but it’s worth the effort for a smooth, delightful jam. Don’t worry if some small pieces of stone remain, we’ll address those later.
- Place the destoned damsons into a large, heavy-bottomed preserving pan. Add the water. Bring the mixture gently to a simmer over a medium heat, then reduce the heat to low, cover the pan, and cook for about 20-30 minutes, or until the damsons are very soft and pulpy.
- Once the damsons are soft, remove the pan from the heat. Carefully fish out any remaining stones that have floated to the surface or are still clinging to the pulp. You can use a slotted spoon for this. If you prefer a very smooth jam, you can pass the mixture through a sieve at this stage, but I rather like the texture of the fruit pieces.
- Return the pan to the heat and add the granulated sugar. Stir continuously over a low heat until the sugar has completely dissolved. You’ll know it’s dissolved when the mixture looks clear and no sugar crystals are visible on the back of your spoon or on the sides of the pan.
- Increase the heat and bring the jam to a rapid, rolling boil. Boil vigorously for 10-15 minutes, stirring occasionally to prevent sticking. This is where the pectin truly works its magic, so don't be tempted to reduce the heat too soon.
- To test for a set, remove the pan from the heat. Skim off any foam or scum from the surface with a spoon – this is where a small knob of butter can work wonders, helping to disperse it! Place a teaspoon of jam onto a chilled saucer. Wait for a minute, then push the jam with your fingertip. If it wrinkles, it’s ready. If not, return the pan to a rolling boil for another 5 minutes and test again. Repeat until you achieve that lovely wrinkle.
- Once the jam has reached its setting point, remove it from the heat. Ladle the hot jam into your pre-sterilised, warm jam jars, filling them right up to the brim. Seal immediately with the lids. As the jam cools, the lids will often 'pop' as a vacuum forms, which is a good sign of a proper seal.
- Allow the jars to cool completely at room temperature. Label them with the date, and then store your glorious homemade damson jam in a cool, dark place. It will be ready to enjoy once fully cooled and set.
How to Store \u0026 Reheat
Once your jars are sealed and cooled, store them in a cool, dark cupboard where they will keep beautifully for up to 12 months. Once a jar is opened, pop it into the refrigerator and consume it within 4-6 weeks. There's no need to reheat jam; it's best served at room temperature or slightly chilled from the fridge.
Mary's Secrets to Success
My dear, for truly spectacular damson jam, remember these little secrets: 1. **Choose Wisely:** Use damsons that are just ripe, or even slightly under-ripe, as they contain the most natural pectin for a perfect set. 2. **Gentle Start:** Don't rush the initial cooking of the fruit; it needs to be very soft to release all its flavour and pectin. 3. **Hot Jars:** Always ensure your sterilised jars are hot when you fill them with hot jam. This prevents the glass from cracking and helps to create a good seal. 4. **The Butter Trick:** A tiny knob of butter, stirred in at the end, works wonders for dispersing any unsightly scum, giving you a crystal-clear, jewel-like jam. 5. **Trust Your Instincts:** The wrinkle test is your best friend. Practice makes perfect, and you'll soon develop an eye for that perfect set!
Frequently Asked Questions
How do I ensure my jam sets properly?
The key to a good set is ensuring your damsons are slightly under-ripe (as they contain more pectin) and boiling the jam vigorously until it reaches the 'wrinkle test' stage. Always use a chilled saucer for the test, and don't be afraid to boil it for a few more minutes if it's not quite there.
Is it really necessary to sterilise the jars?
Absolutely, dear! Sterilising your jars is crucial for food safety and to ensure your jam has a long shelf life. It kills any bacteria or yeasts that could spoil your beautiful preserve. I recommend washing them in hot, soapy water, rinsing well, and then placing them in a low oven (130°C/250°F/Gas ½) for 15-20 minutes until completely dry and hot before filling.
What if my jam doesn't set after cooling?
Don't fret, it happens to the best of us! If your jam hasn't set, you can gently reheat it in your preserving pan, adding a little lemon juice (which aids pectin) or a sachet of commercial pectin, and re-boil it until it reaches the setting point. Test again, then re-jar. If it still refuses to set, it will make a delicious sauce for ice cream or a topping for pancakes!
Can I leave the damson stones in the jam?
Traditionally, some recipes do leave the stones in during the initial cooking stage, which can impart a lovely almondy flavour. However, for ease of eating and safety, I highly recommend removing them. It makes for a much more pleasant experience when you're spreading it on your toast!
Why does scum form on top of the jam, and how do I get rid of it?
Scum is simply impurities that rise to the surface during boiling. While harmless, it doesn't look particularly appealing. Skim it off with a spoon just before potting. A little trick I often use is to add a small knob of butter to the jam just before the final boil; it magically helps to disperse the scum, leaving you with a beautifully clear, vibrant preserve.